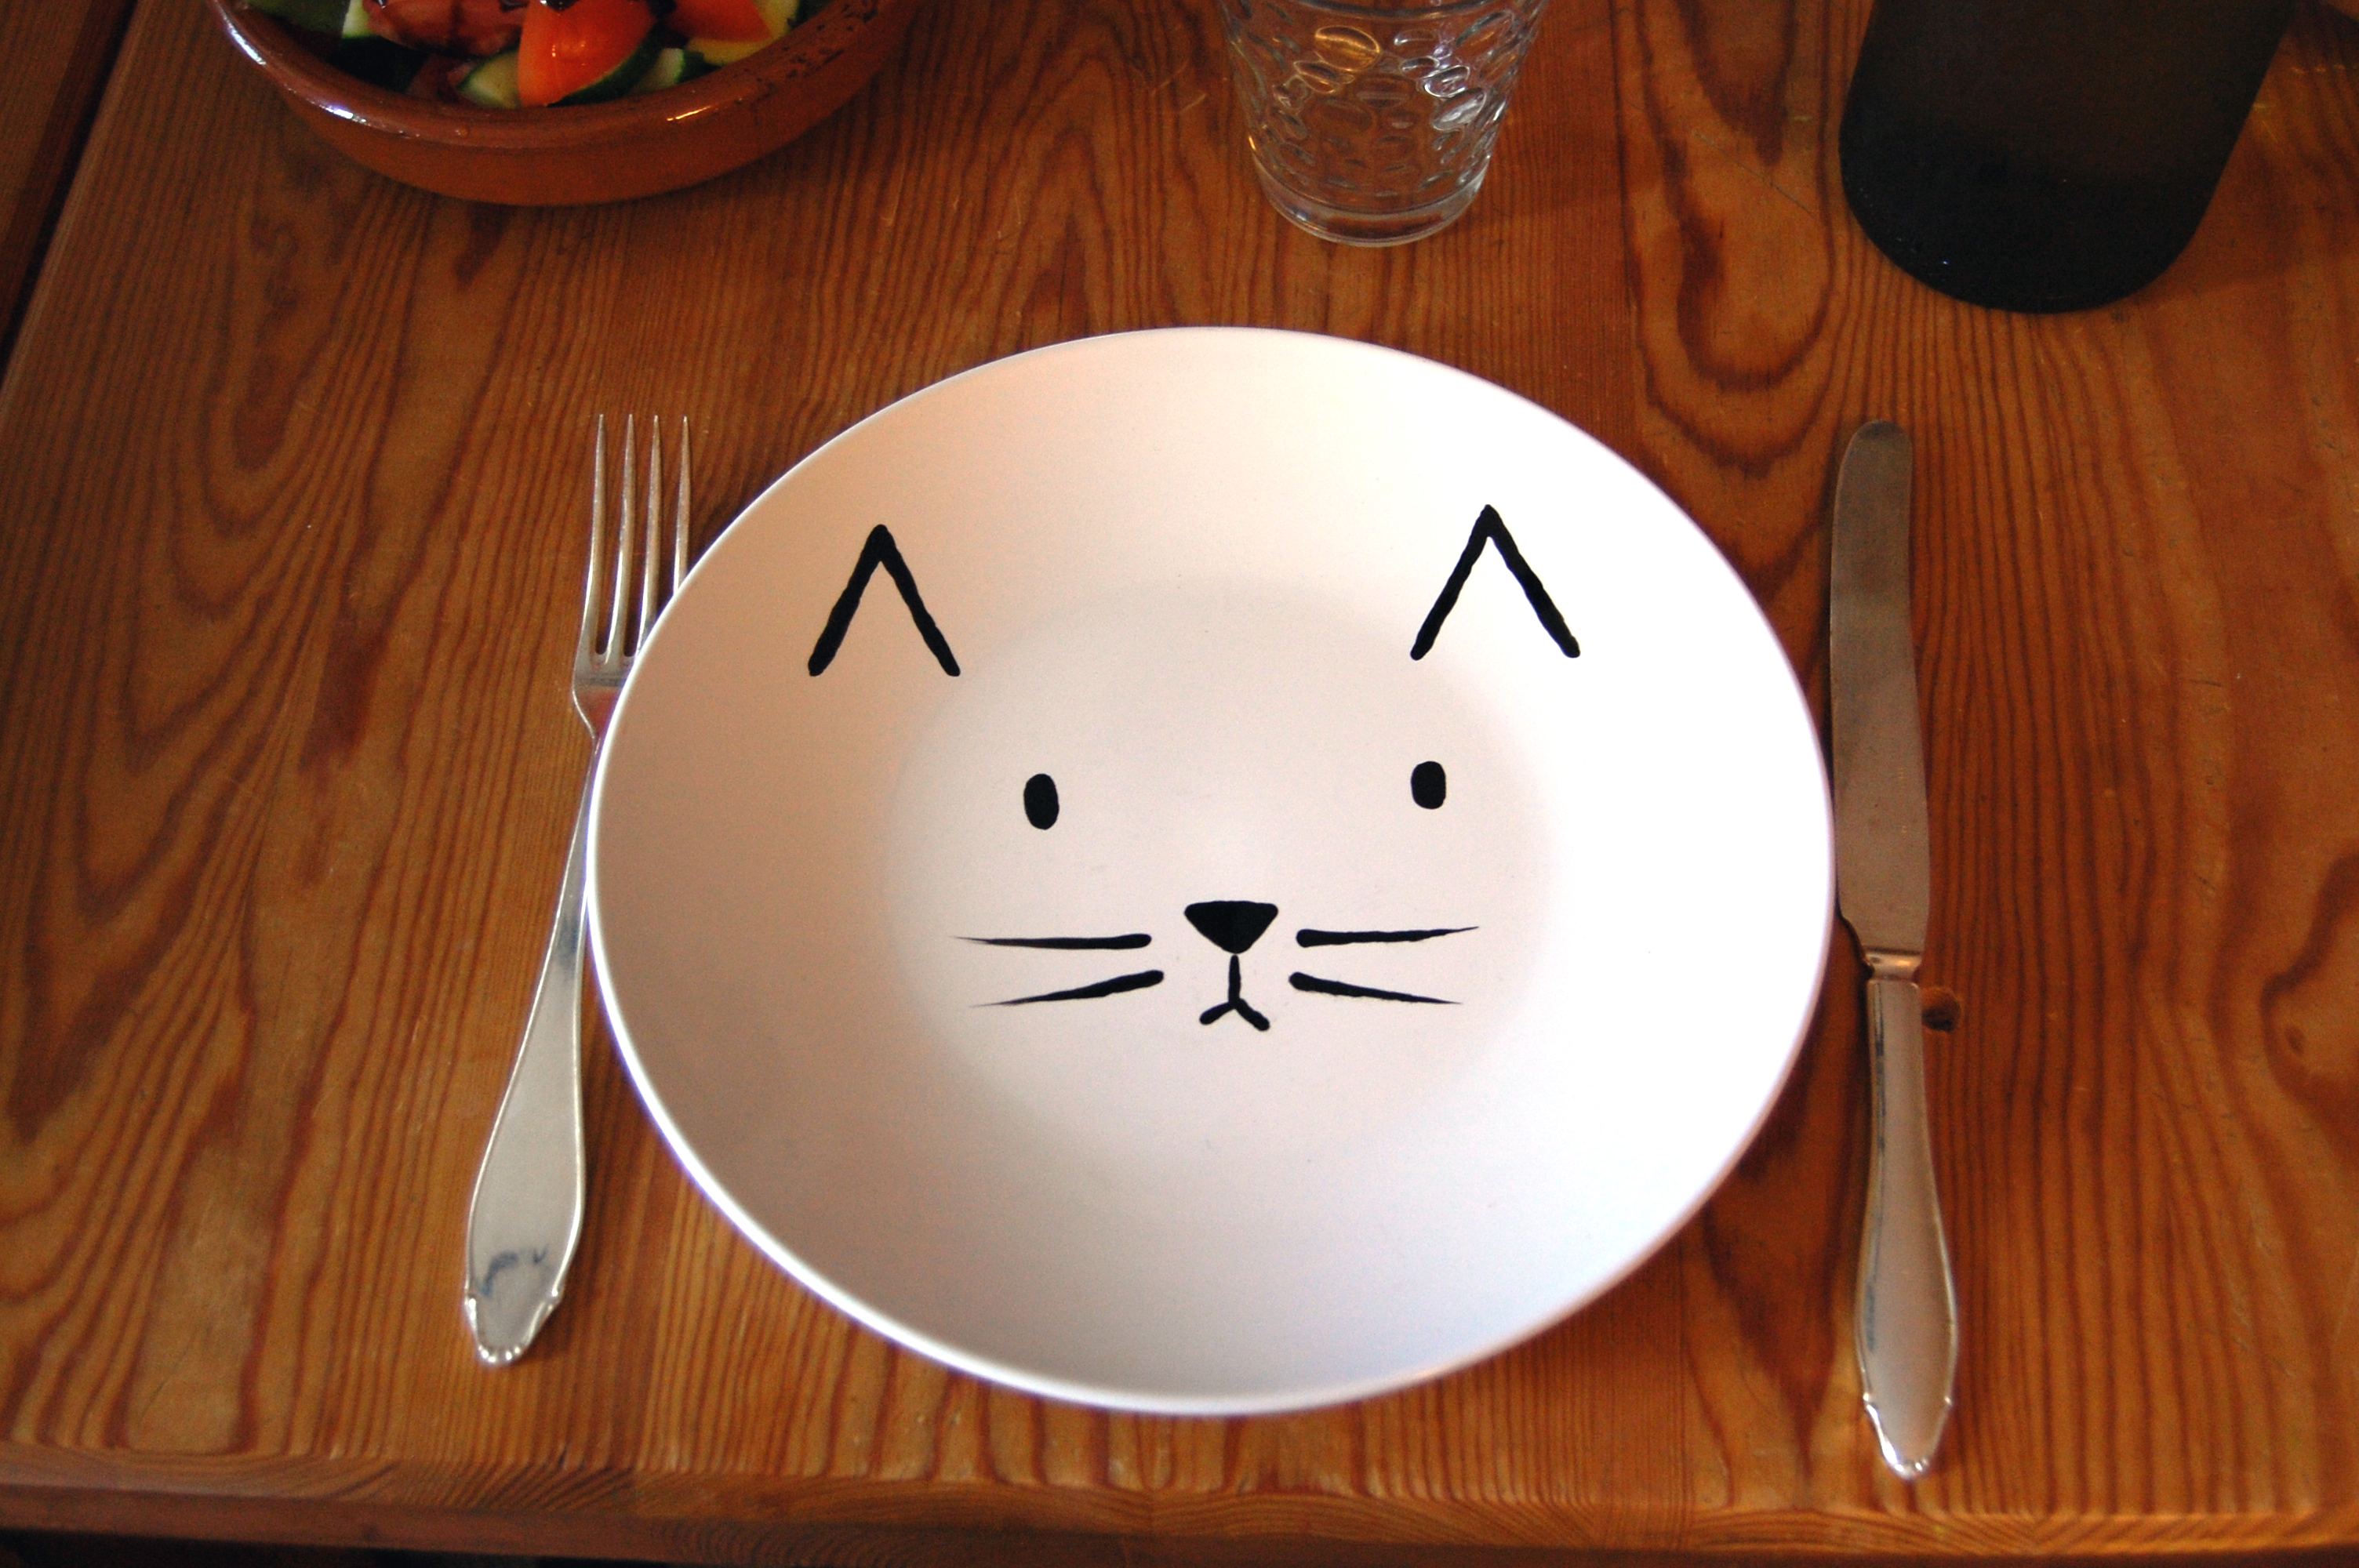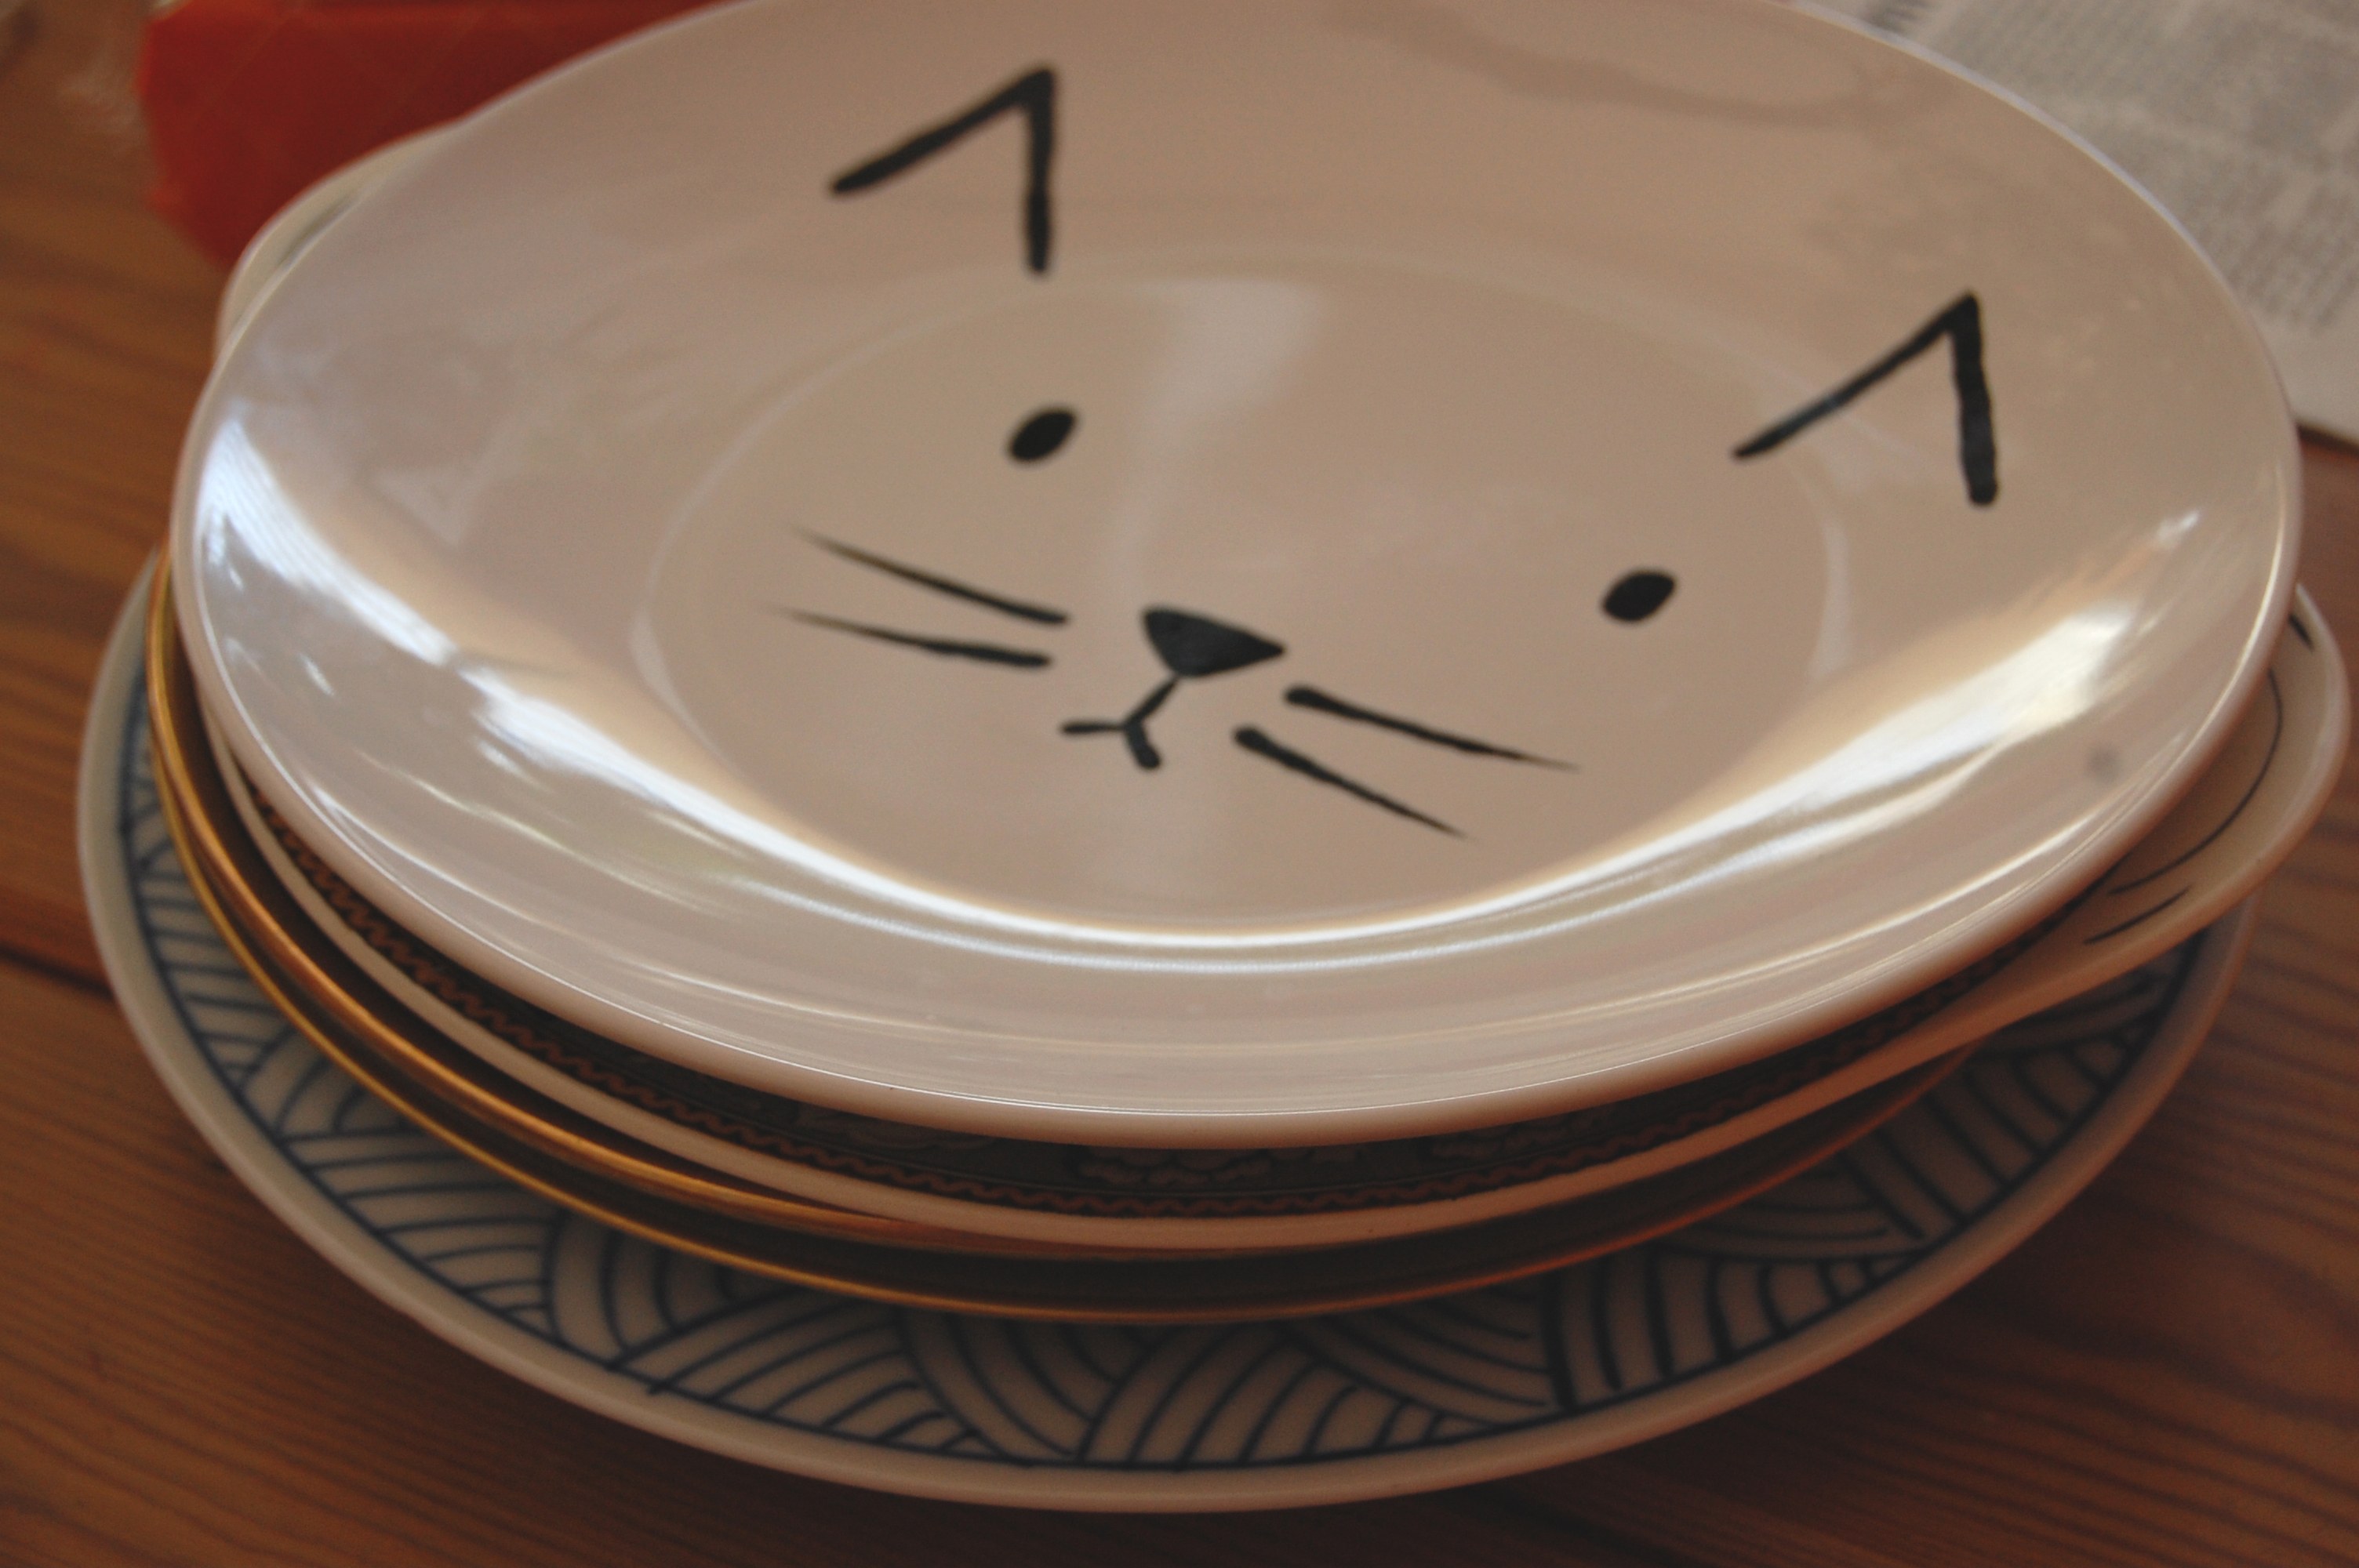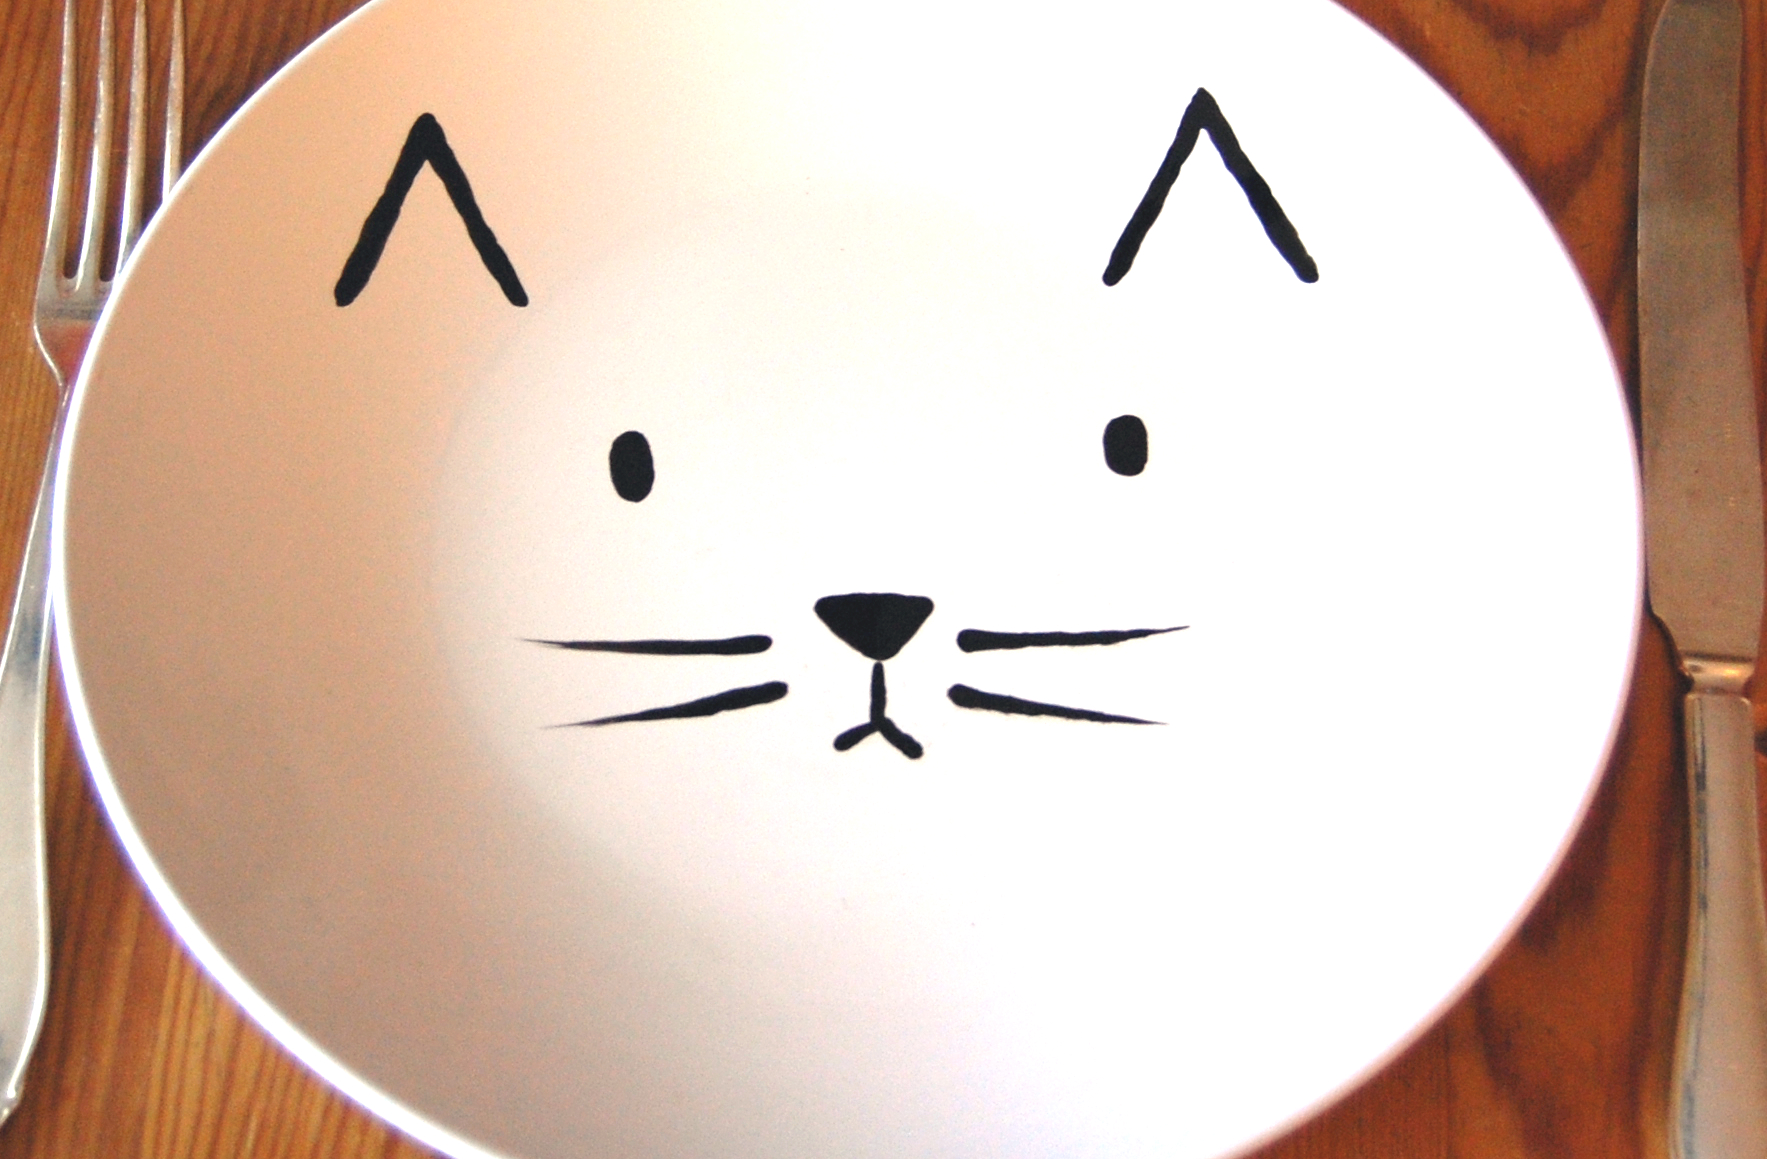
As you might recall I’m into plates with animals on them at the moment. I kind off collect them, but they’re hard to find! So I made my own cat plate. Today I’m showing you something similar, this time two vintage plates get a whole new style!
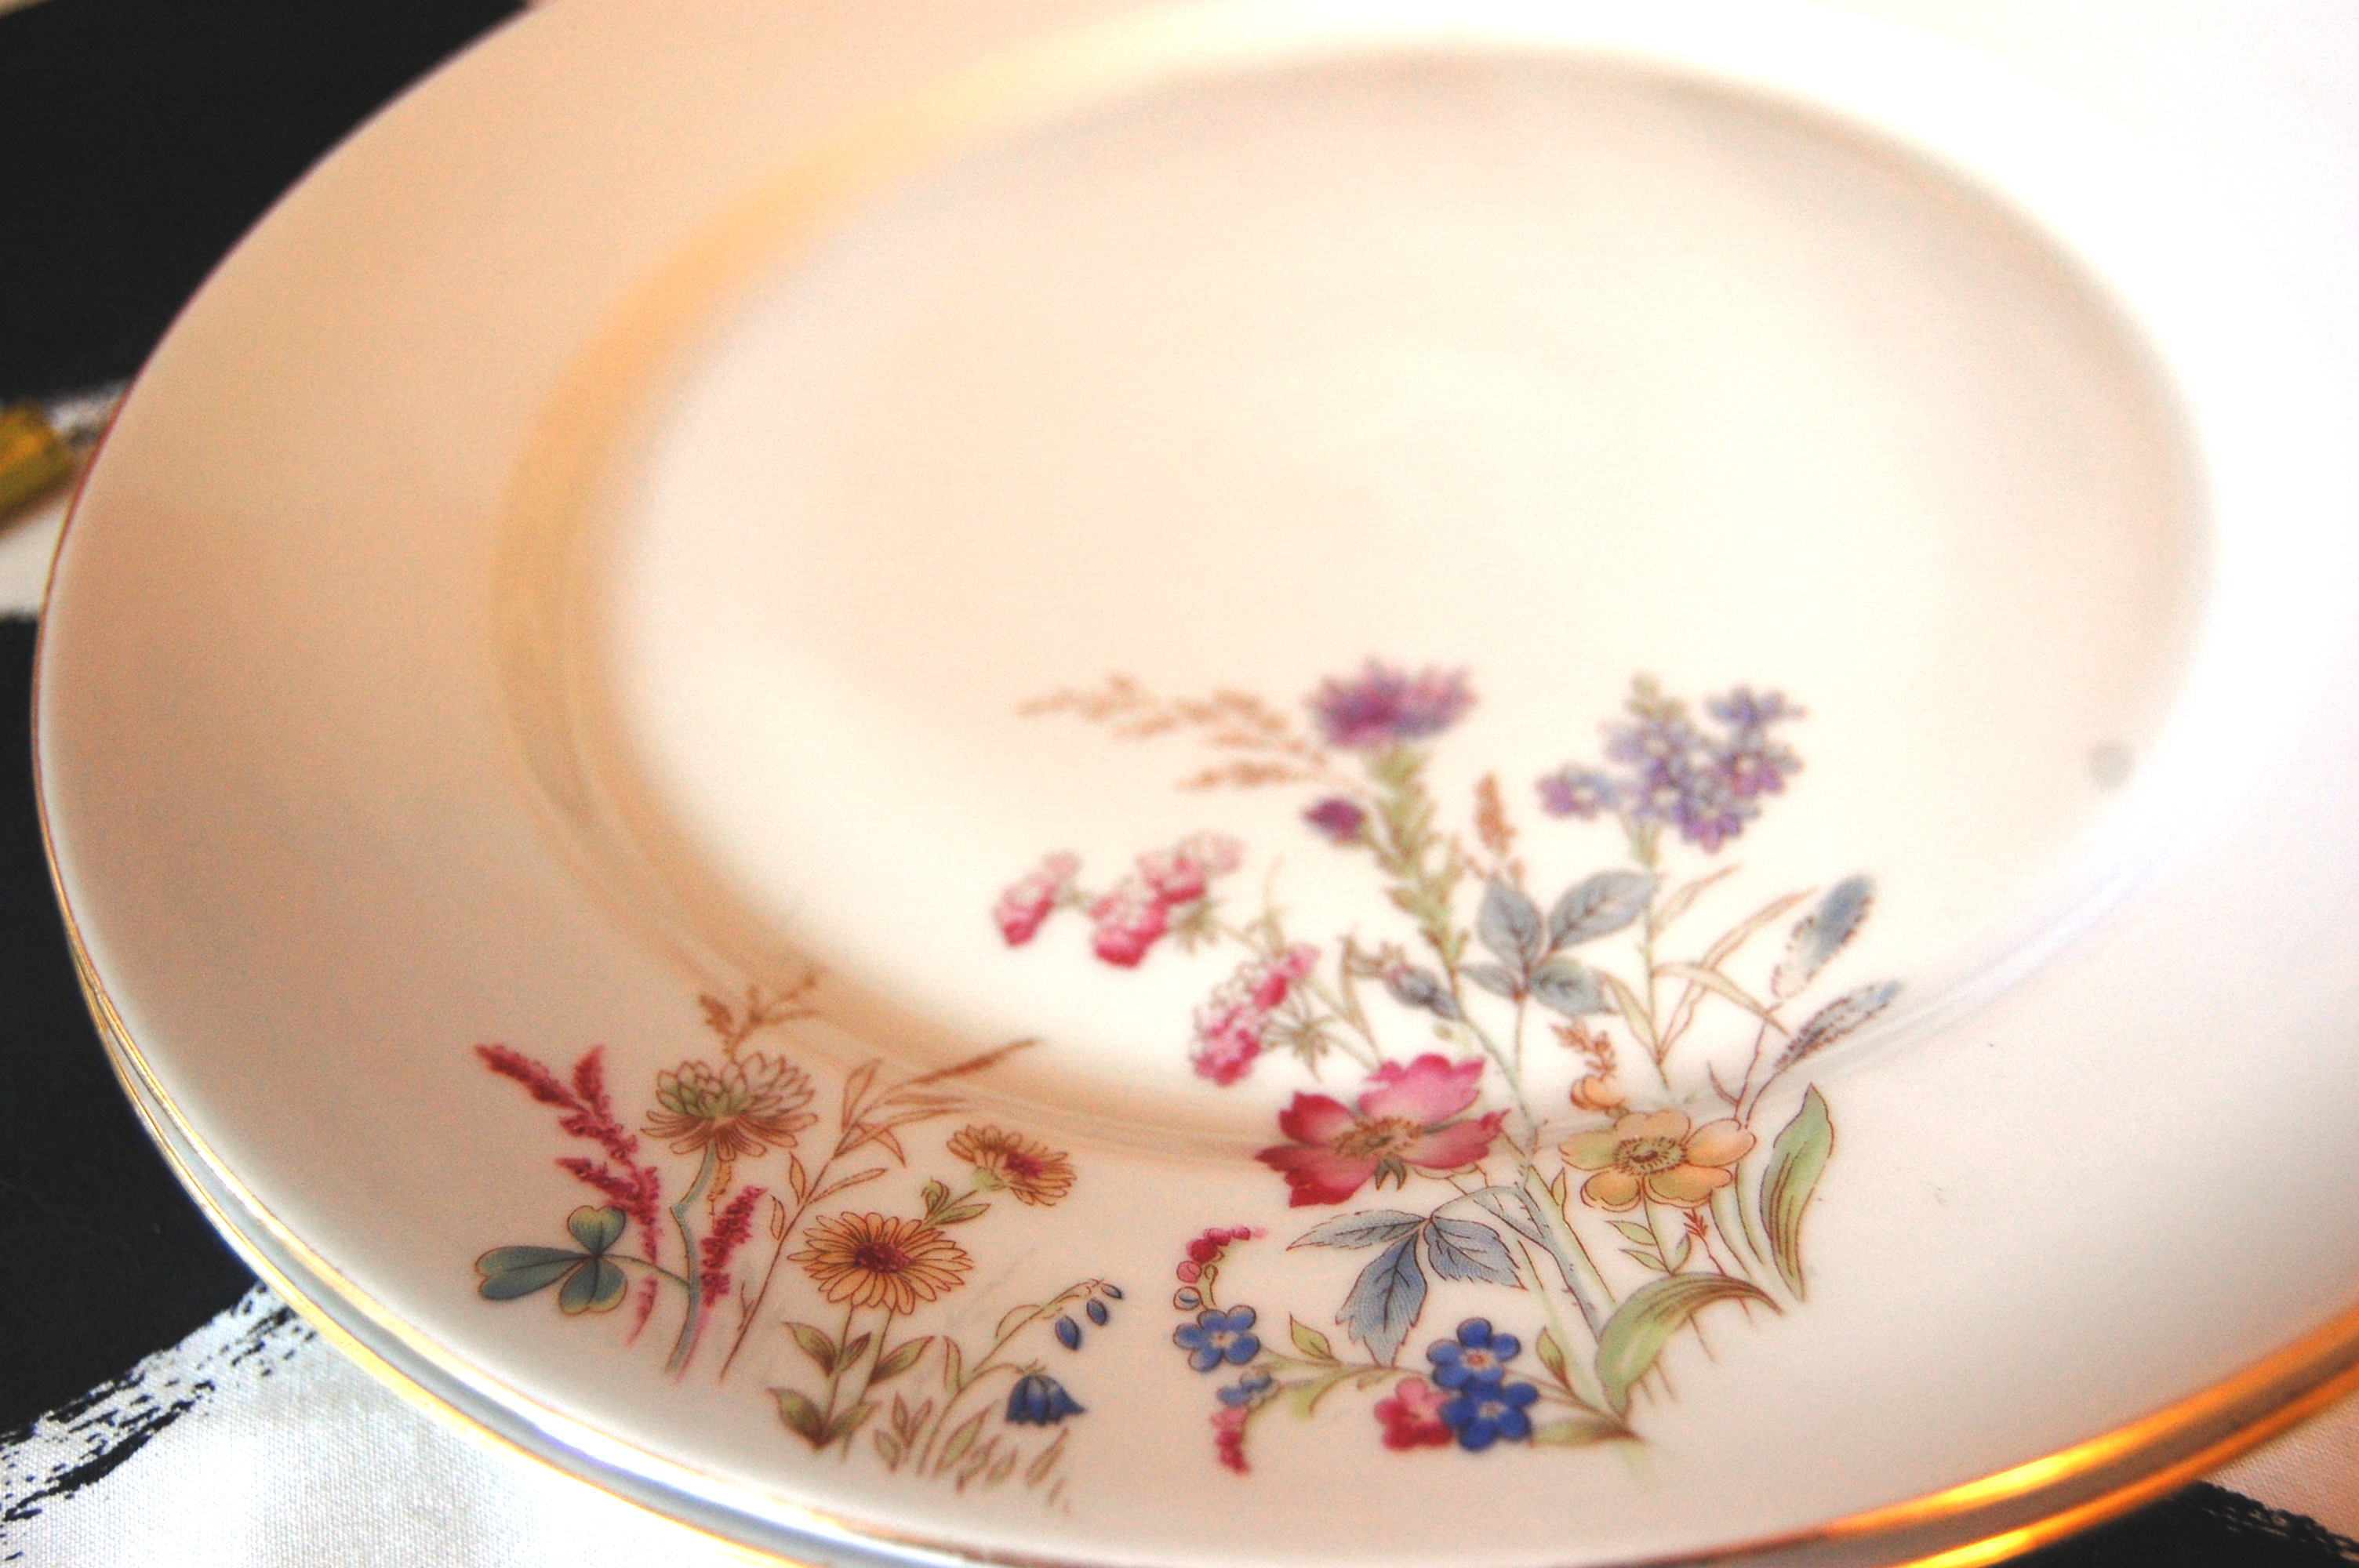
I adore vintage plates, especially the ones with flowers on the edges, too pretty. Not to mention the gold lining that often occurs as well! I just love them. Sadly they rarely come in dinner sets, some plates broken through the years. They’re often sold alone or in pairs. I know a lot of people want matching dinner sets, but I’m not that picky! Mix and max is just as good, and much more personal. So when I found these two plates in the thrift store I had to get them (plates like these cost almost nothing at all). Then I thought I had to give them a make over to make them more interesting.
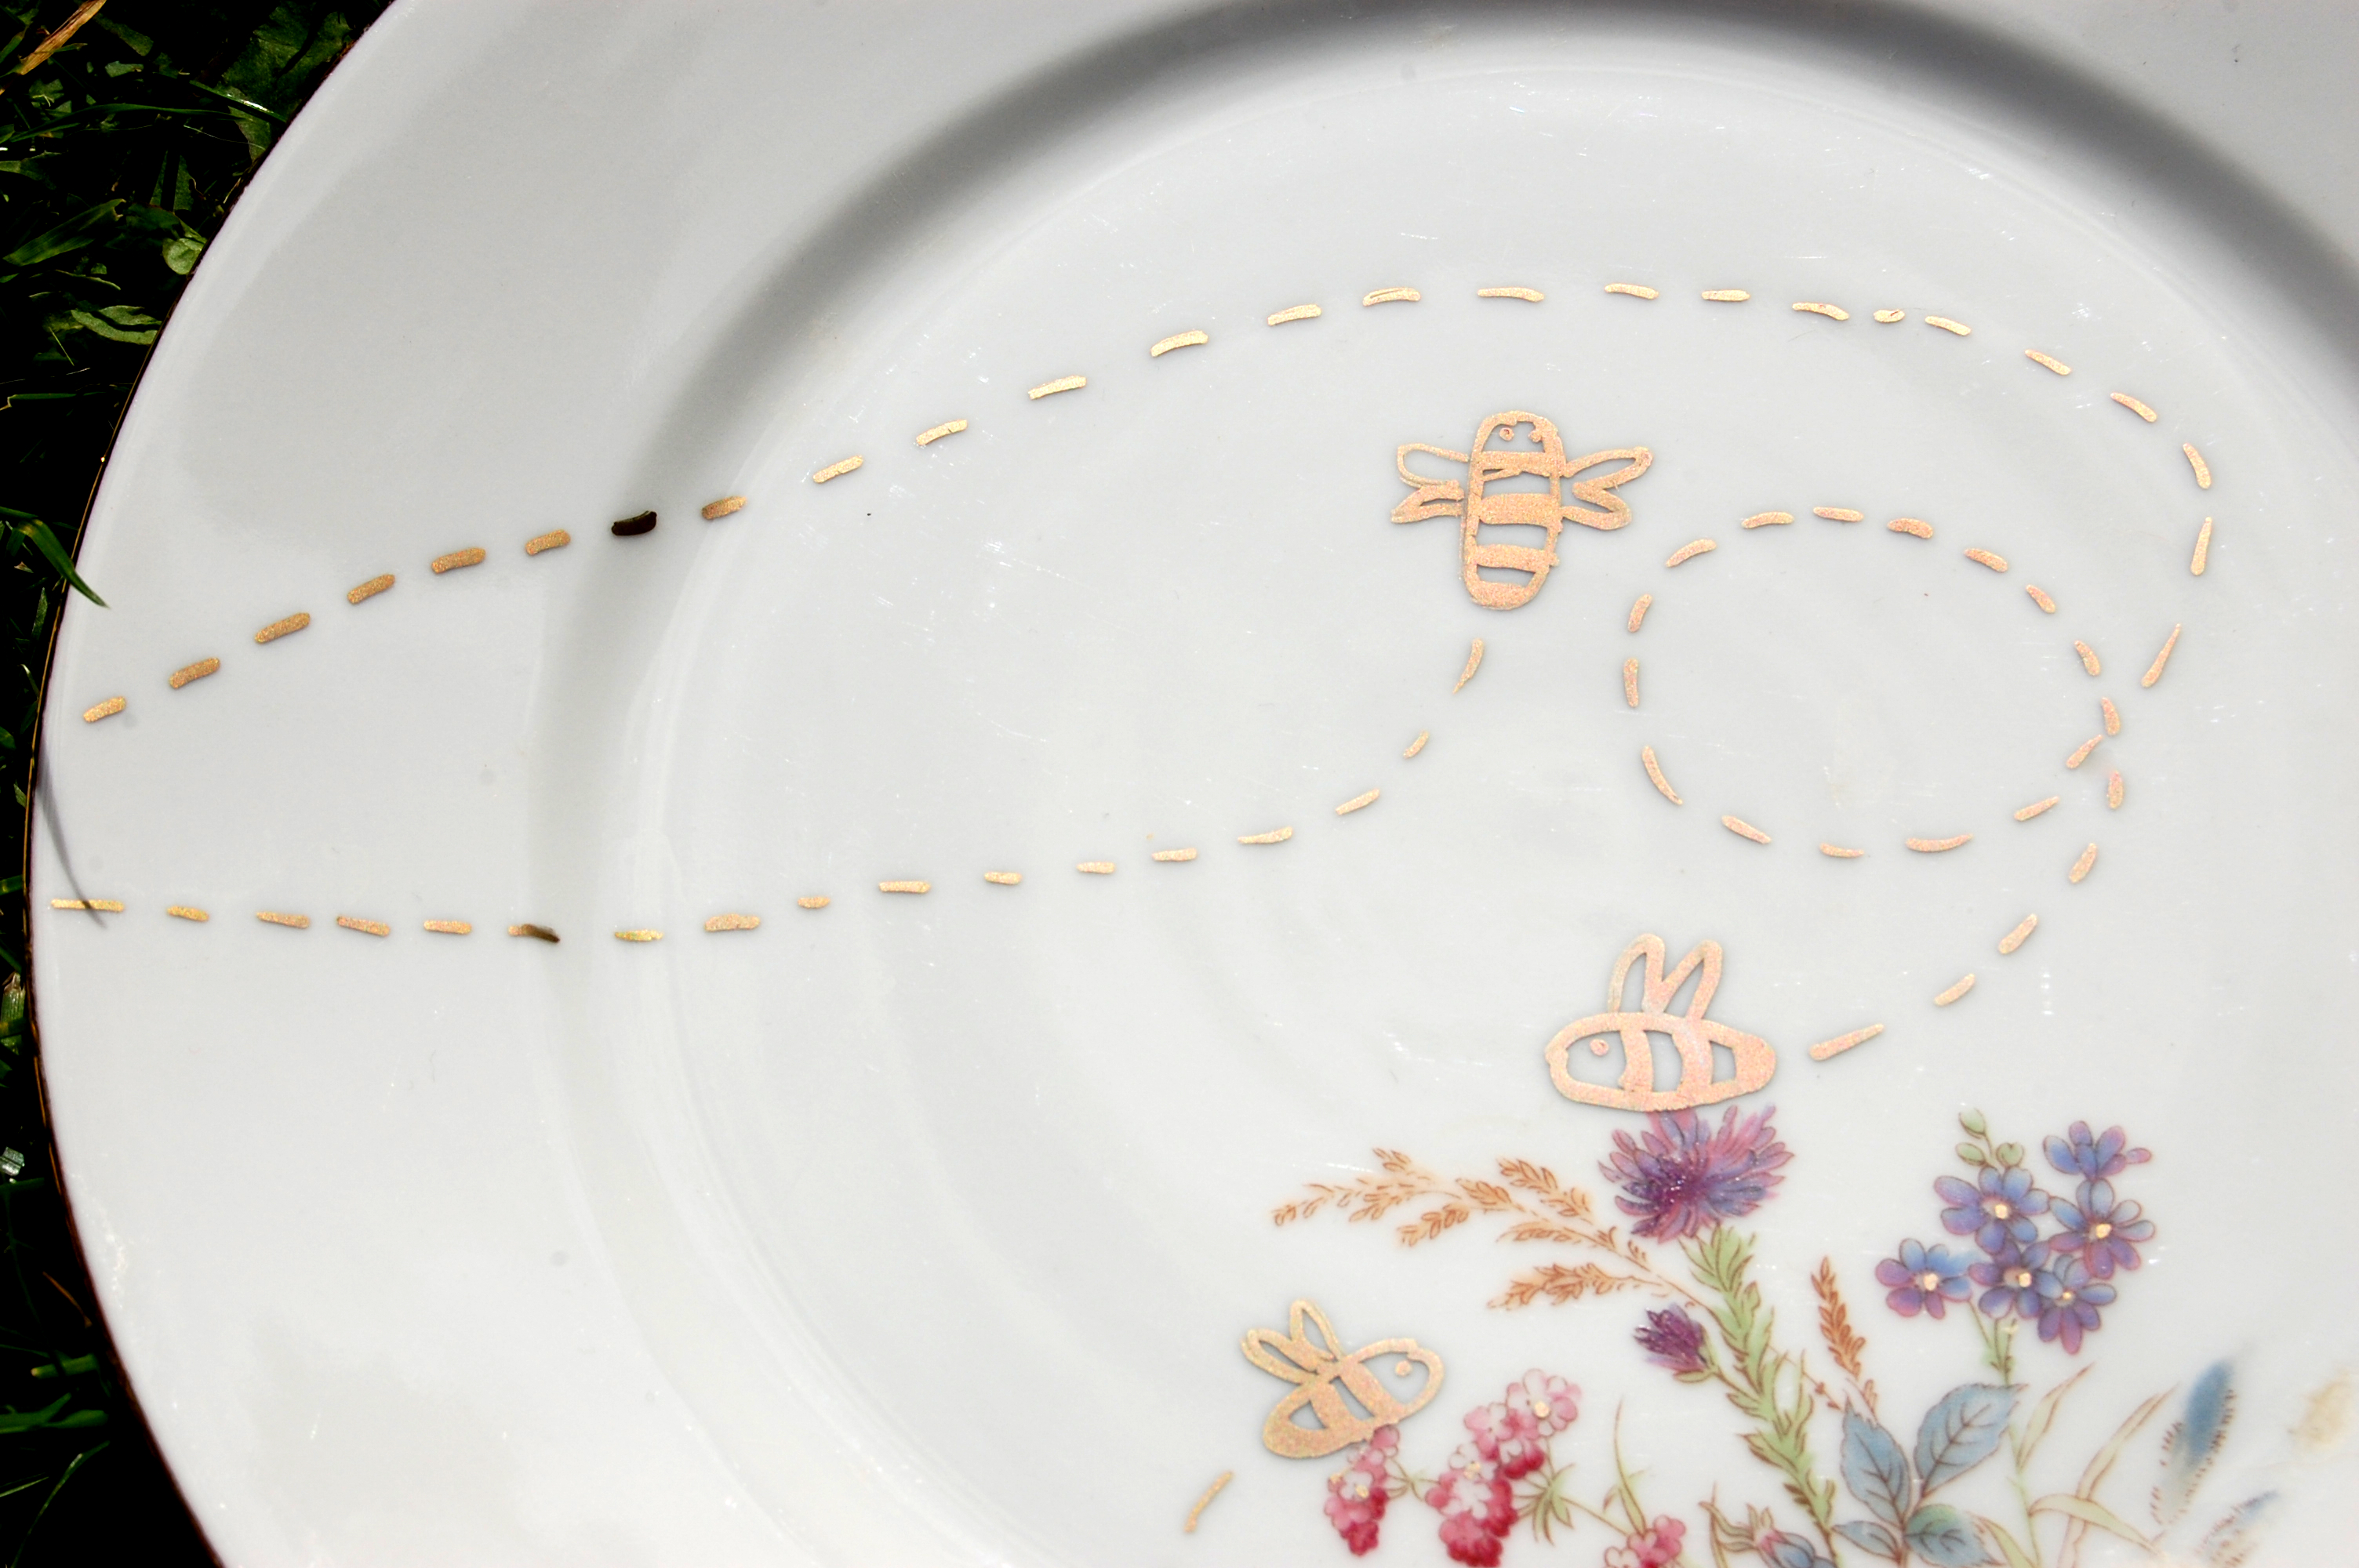
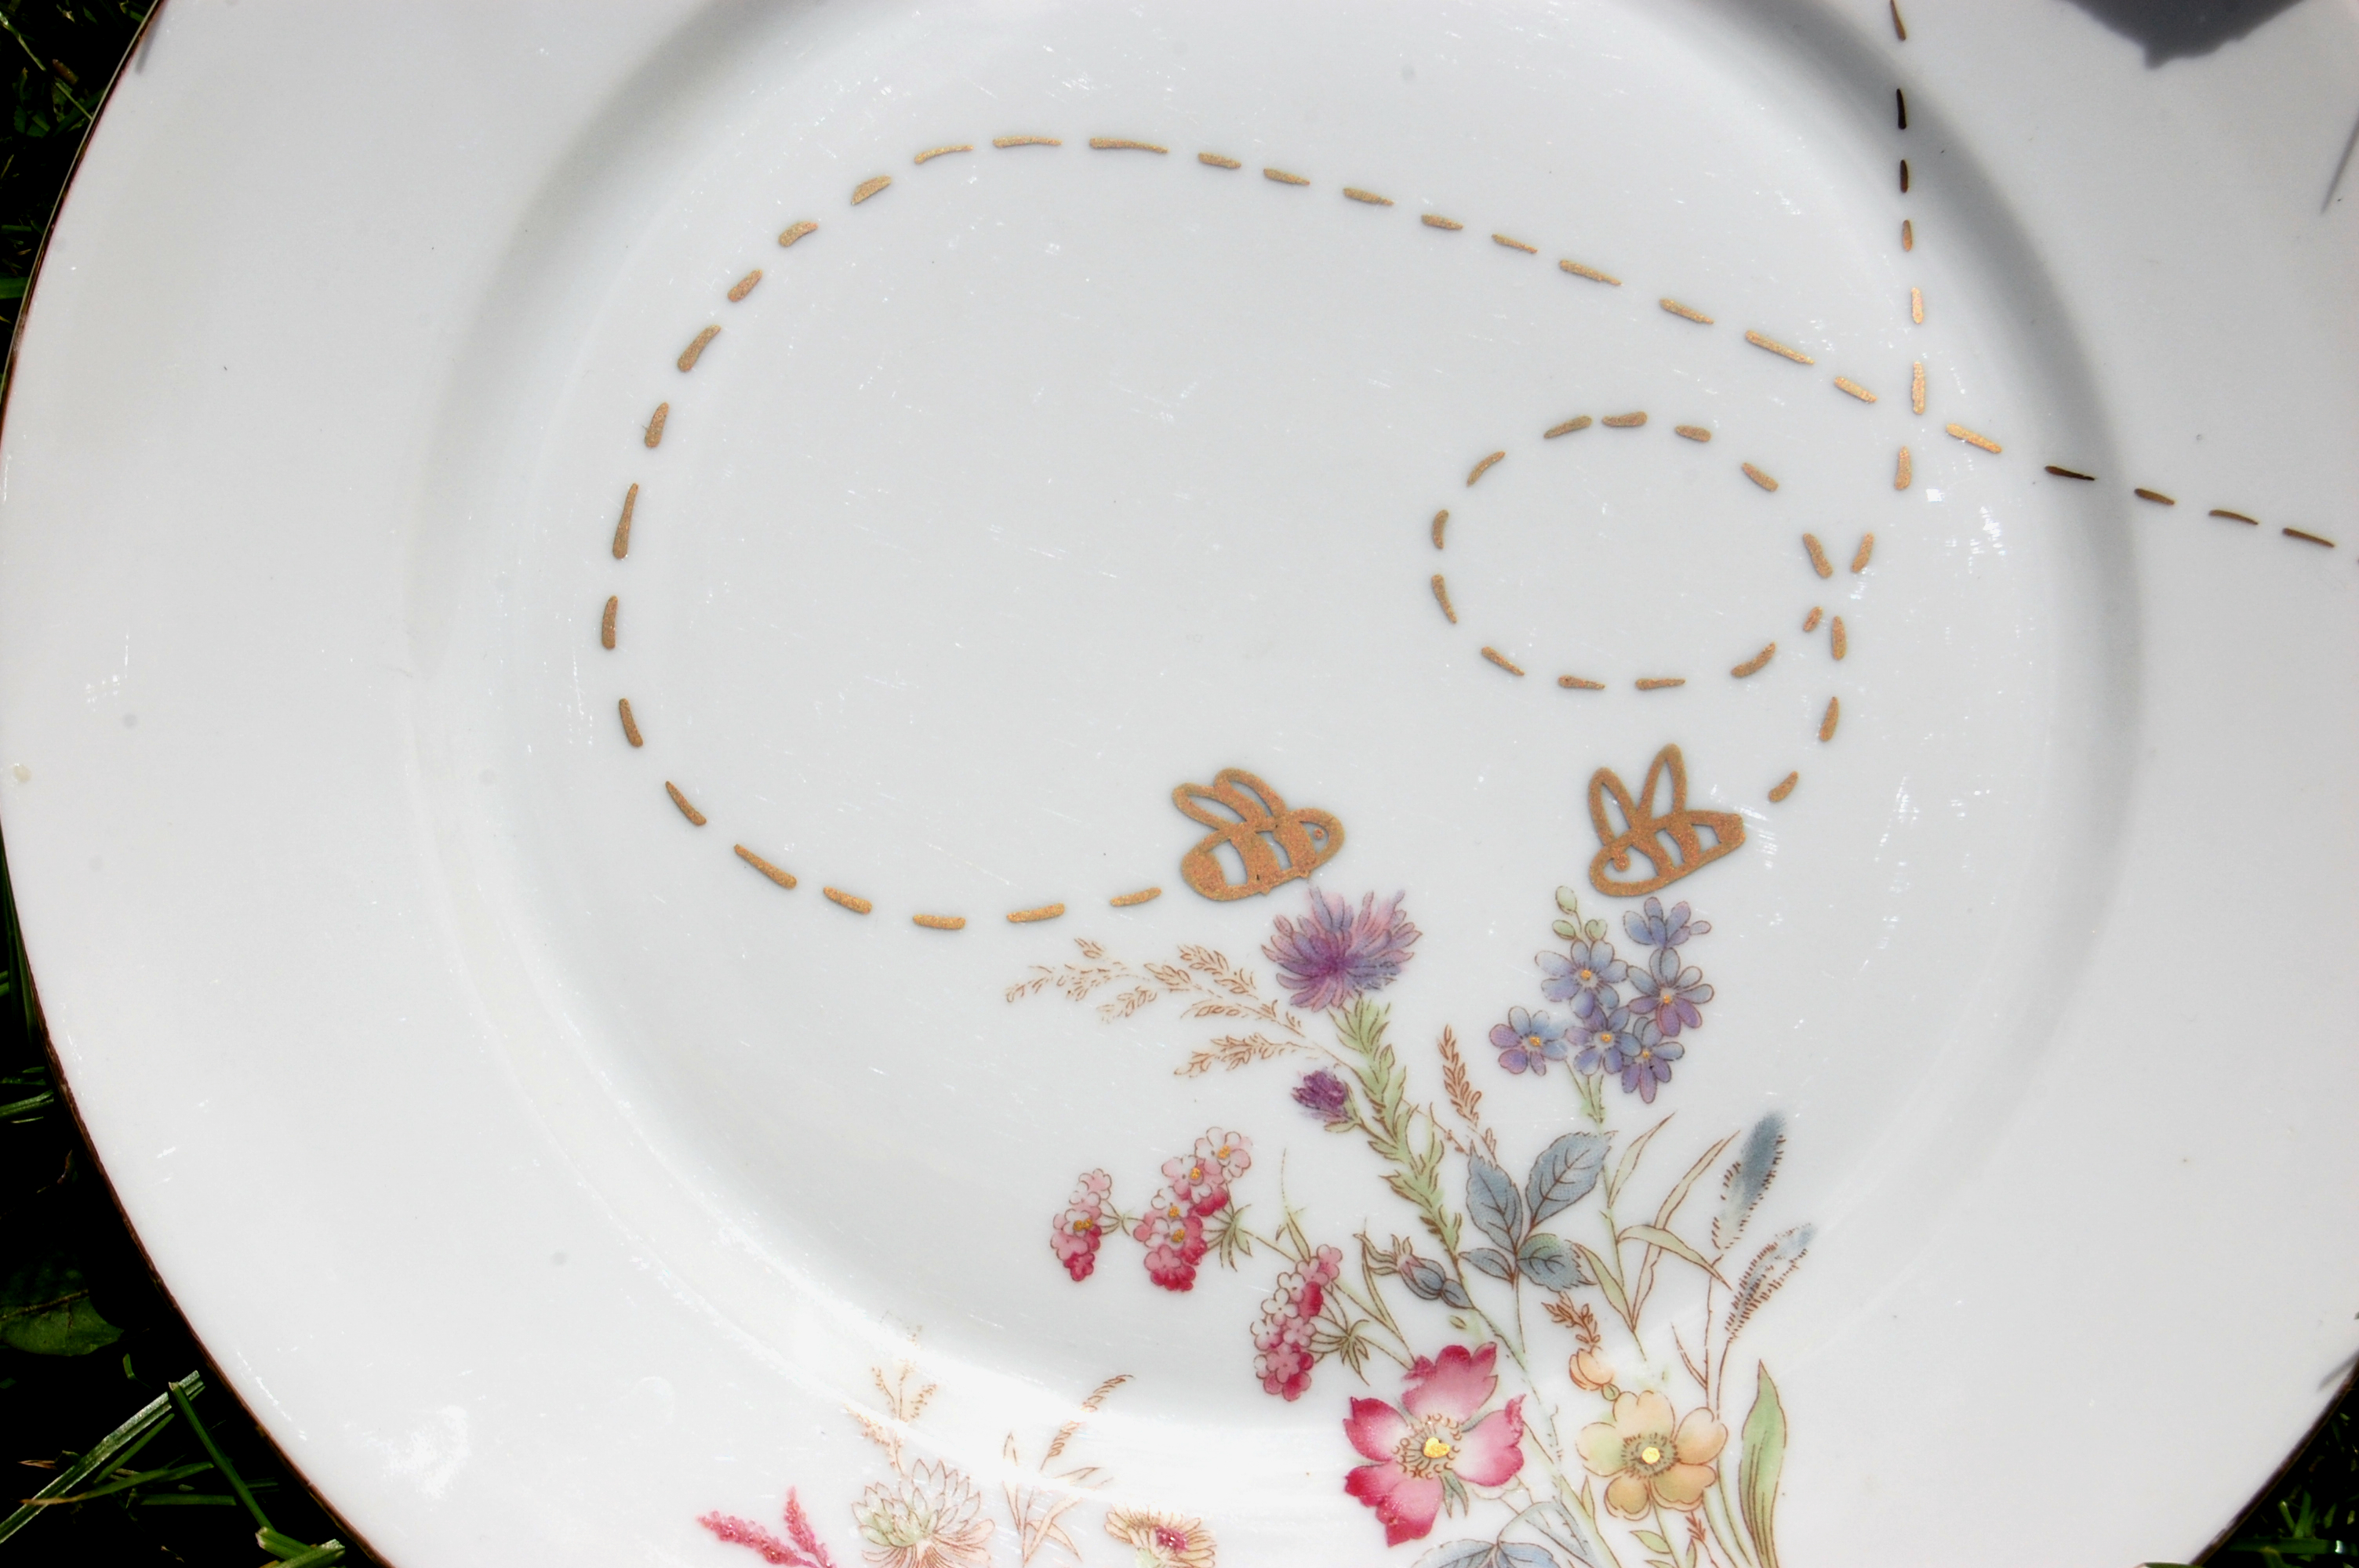
I thought a good long while about what i could paint on them to match the flowers. Then I thought of it! Bees! They like flowers, could be counted in the ‘animal’ category and they are super cute!

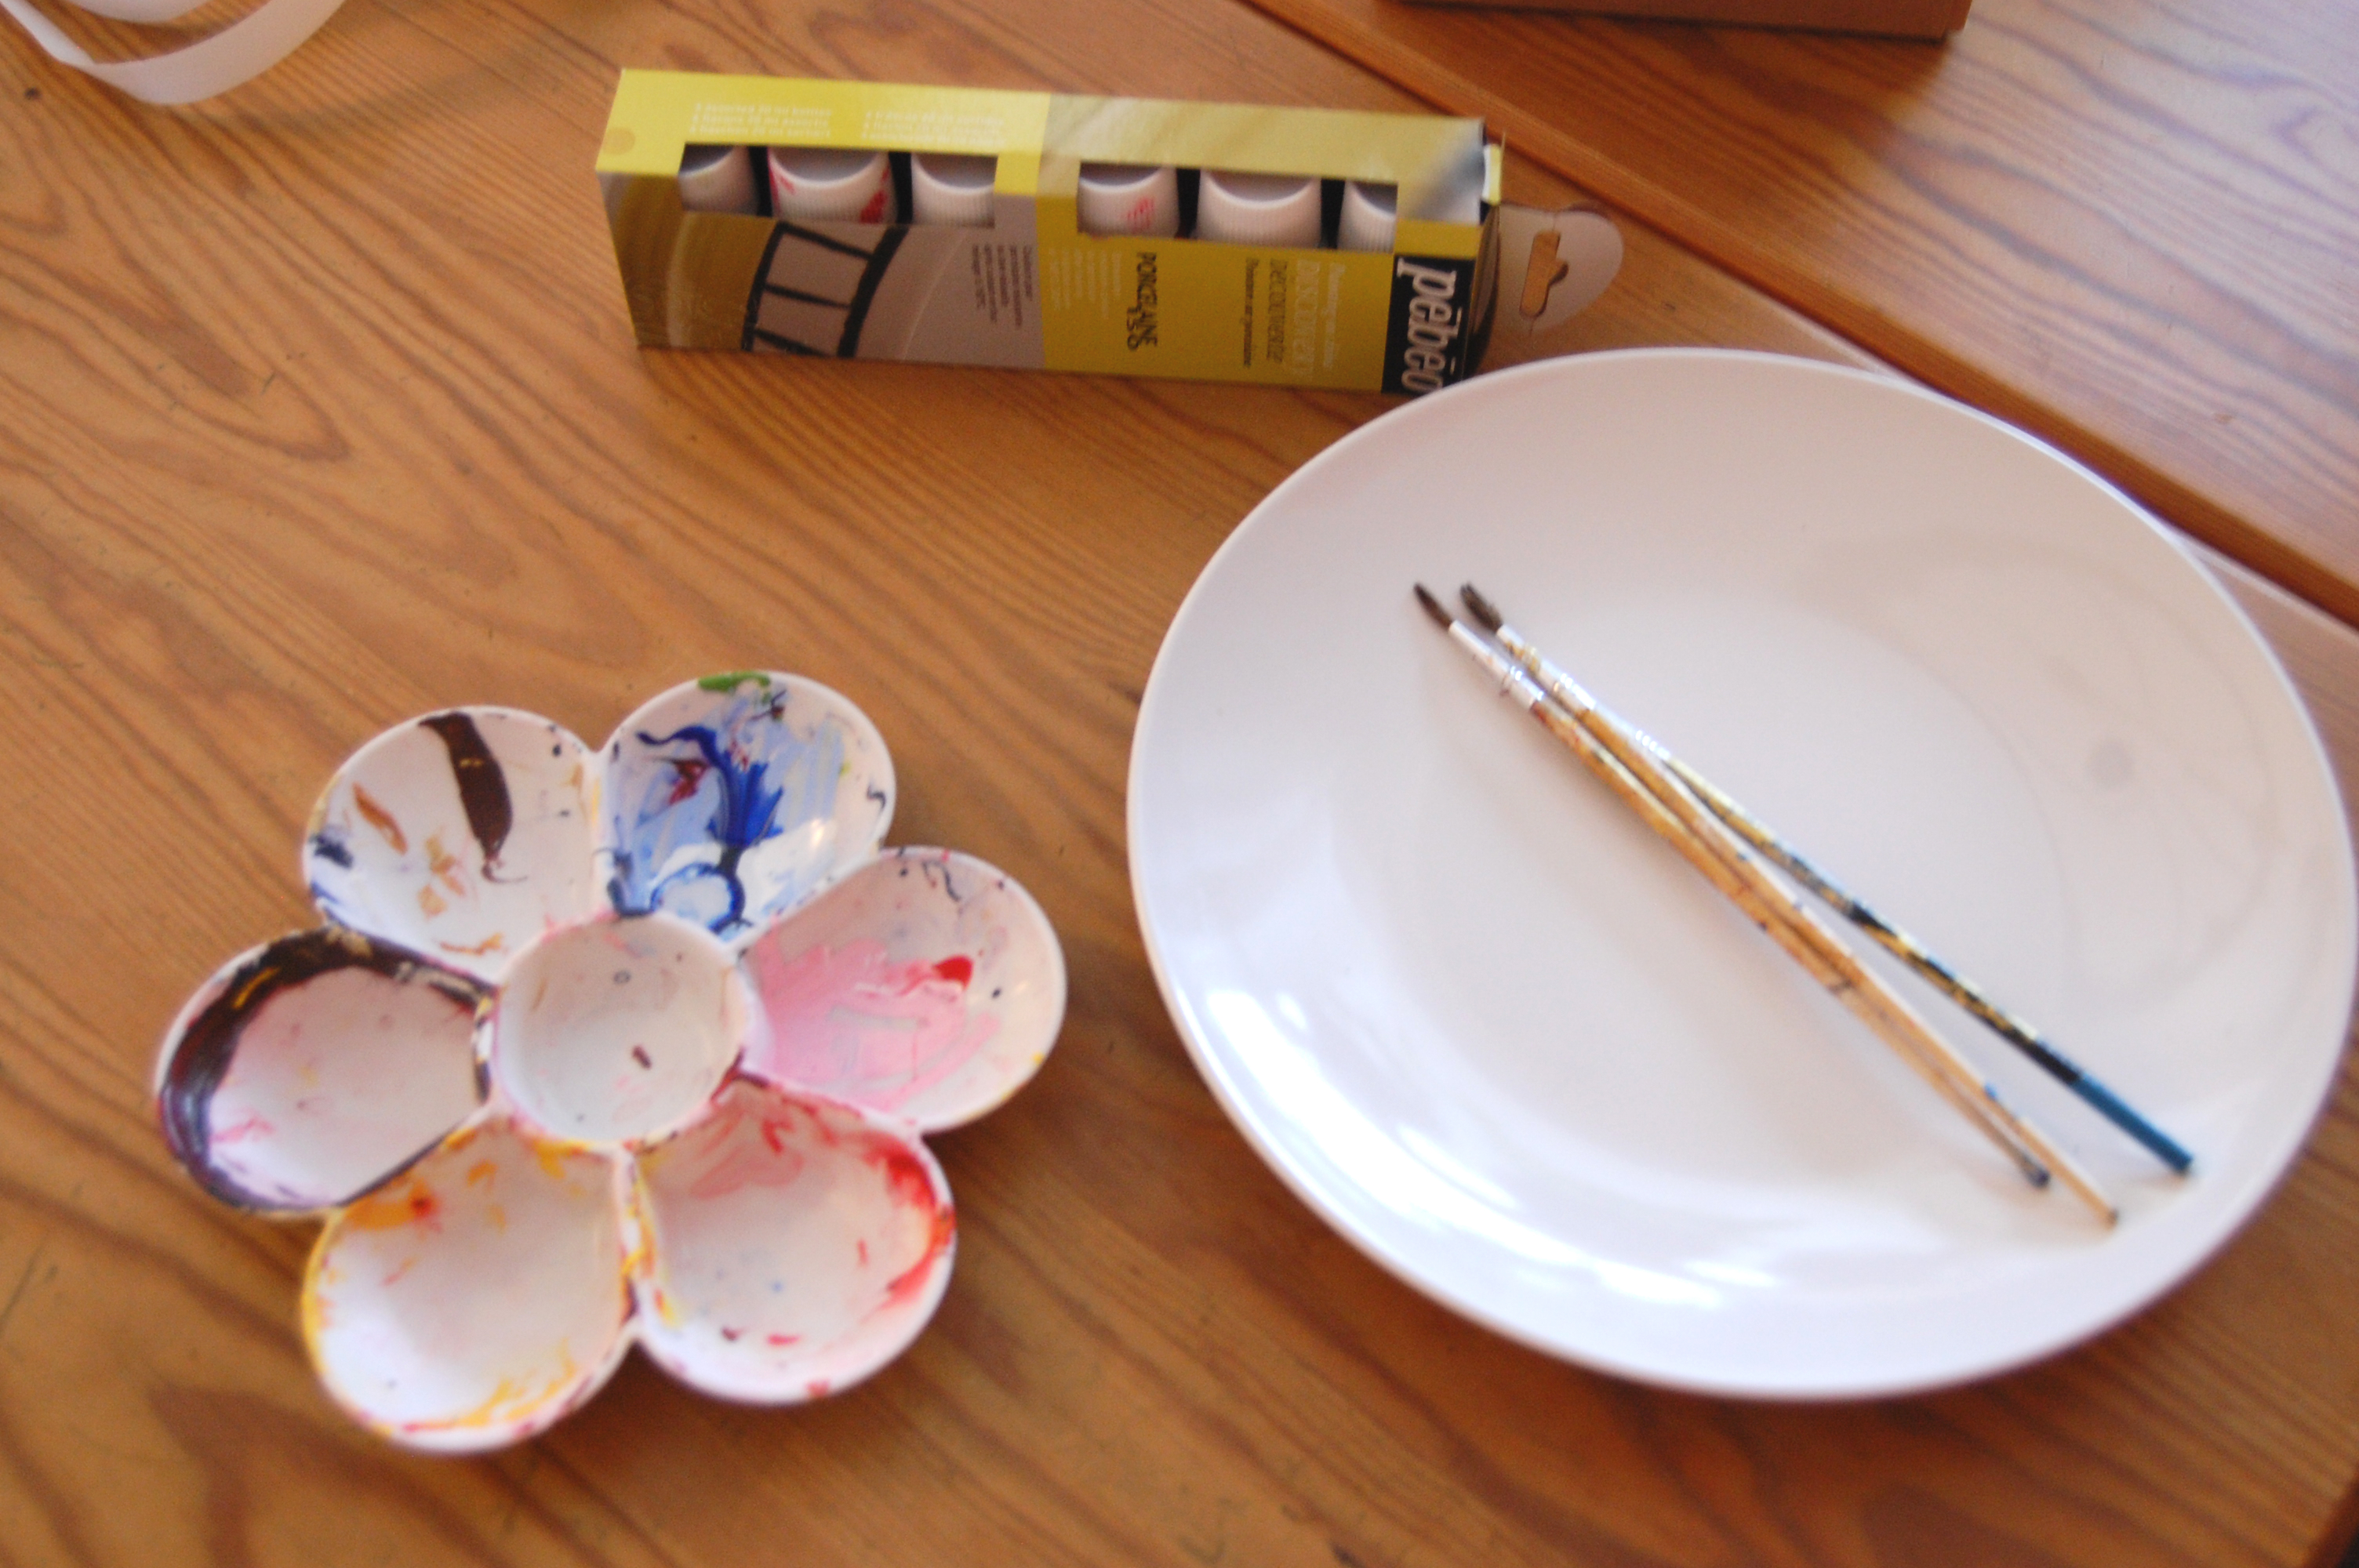
This is what you’ll need
- vintage flower plates
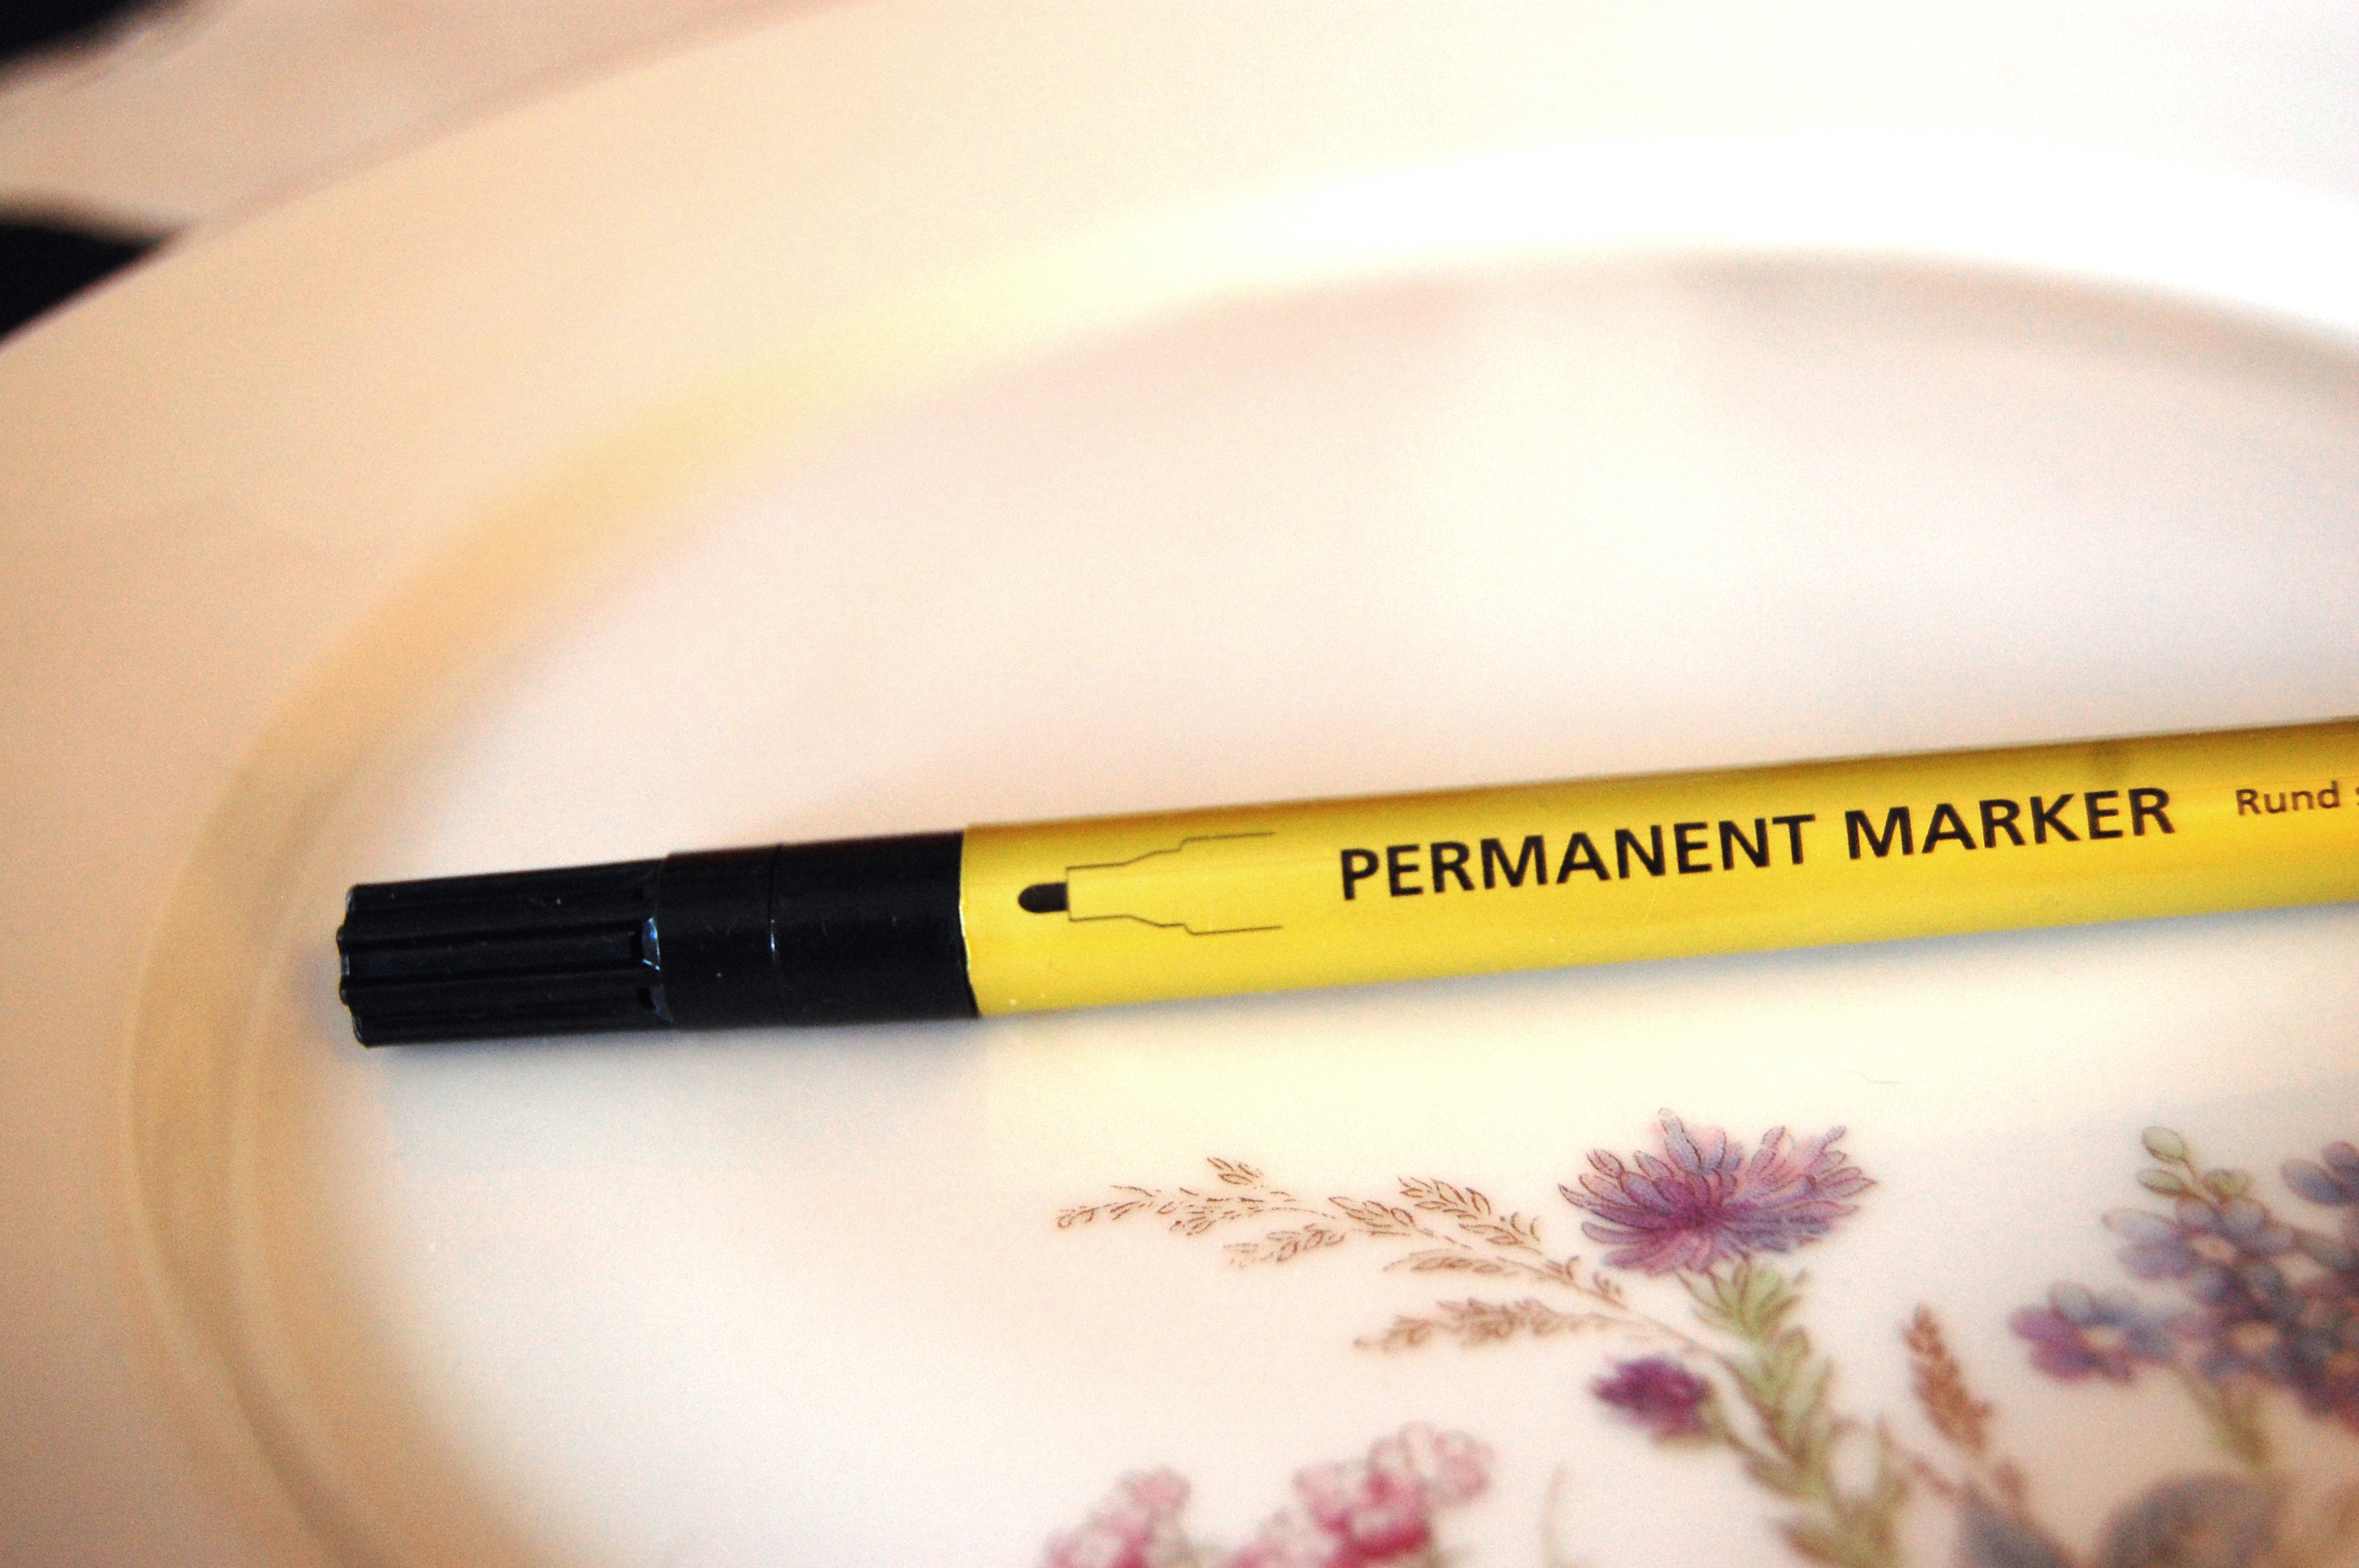
- gold sharpie (or any other water-resistant sharpie you might prefer)
- rubbing alcohol (to clean the plate)
- an oven
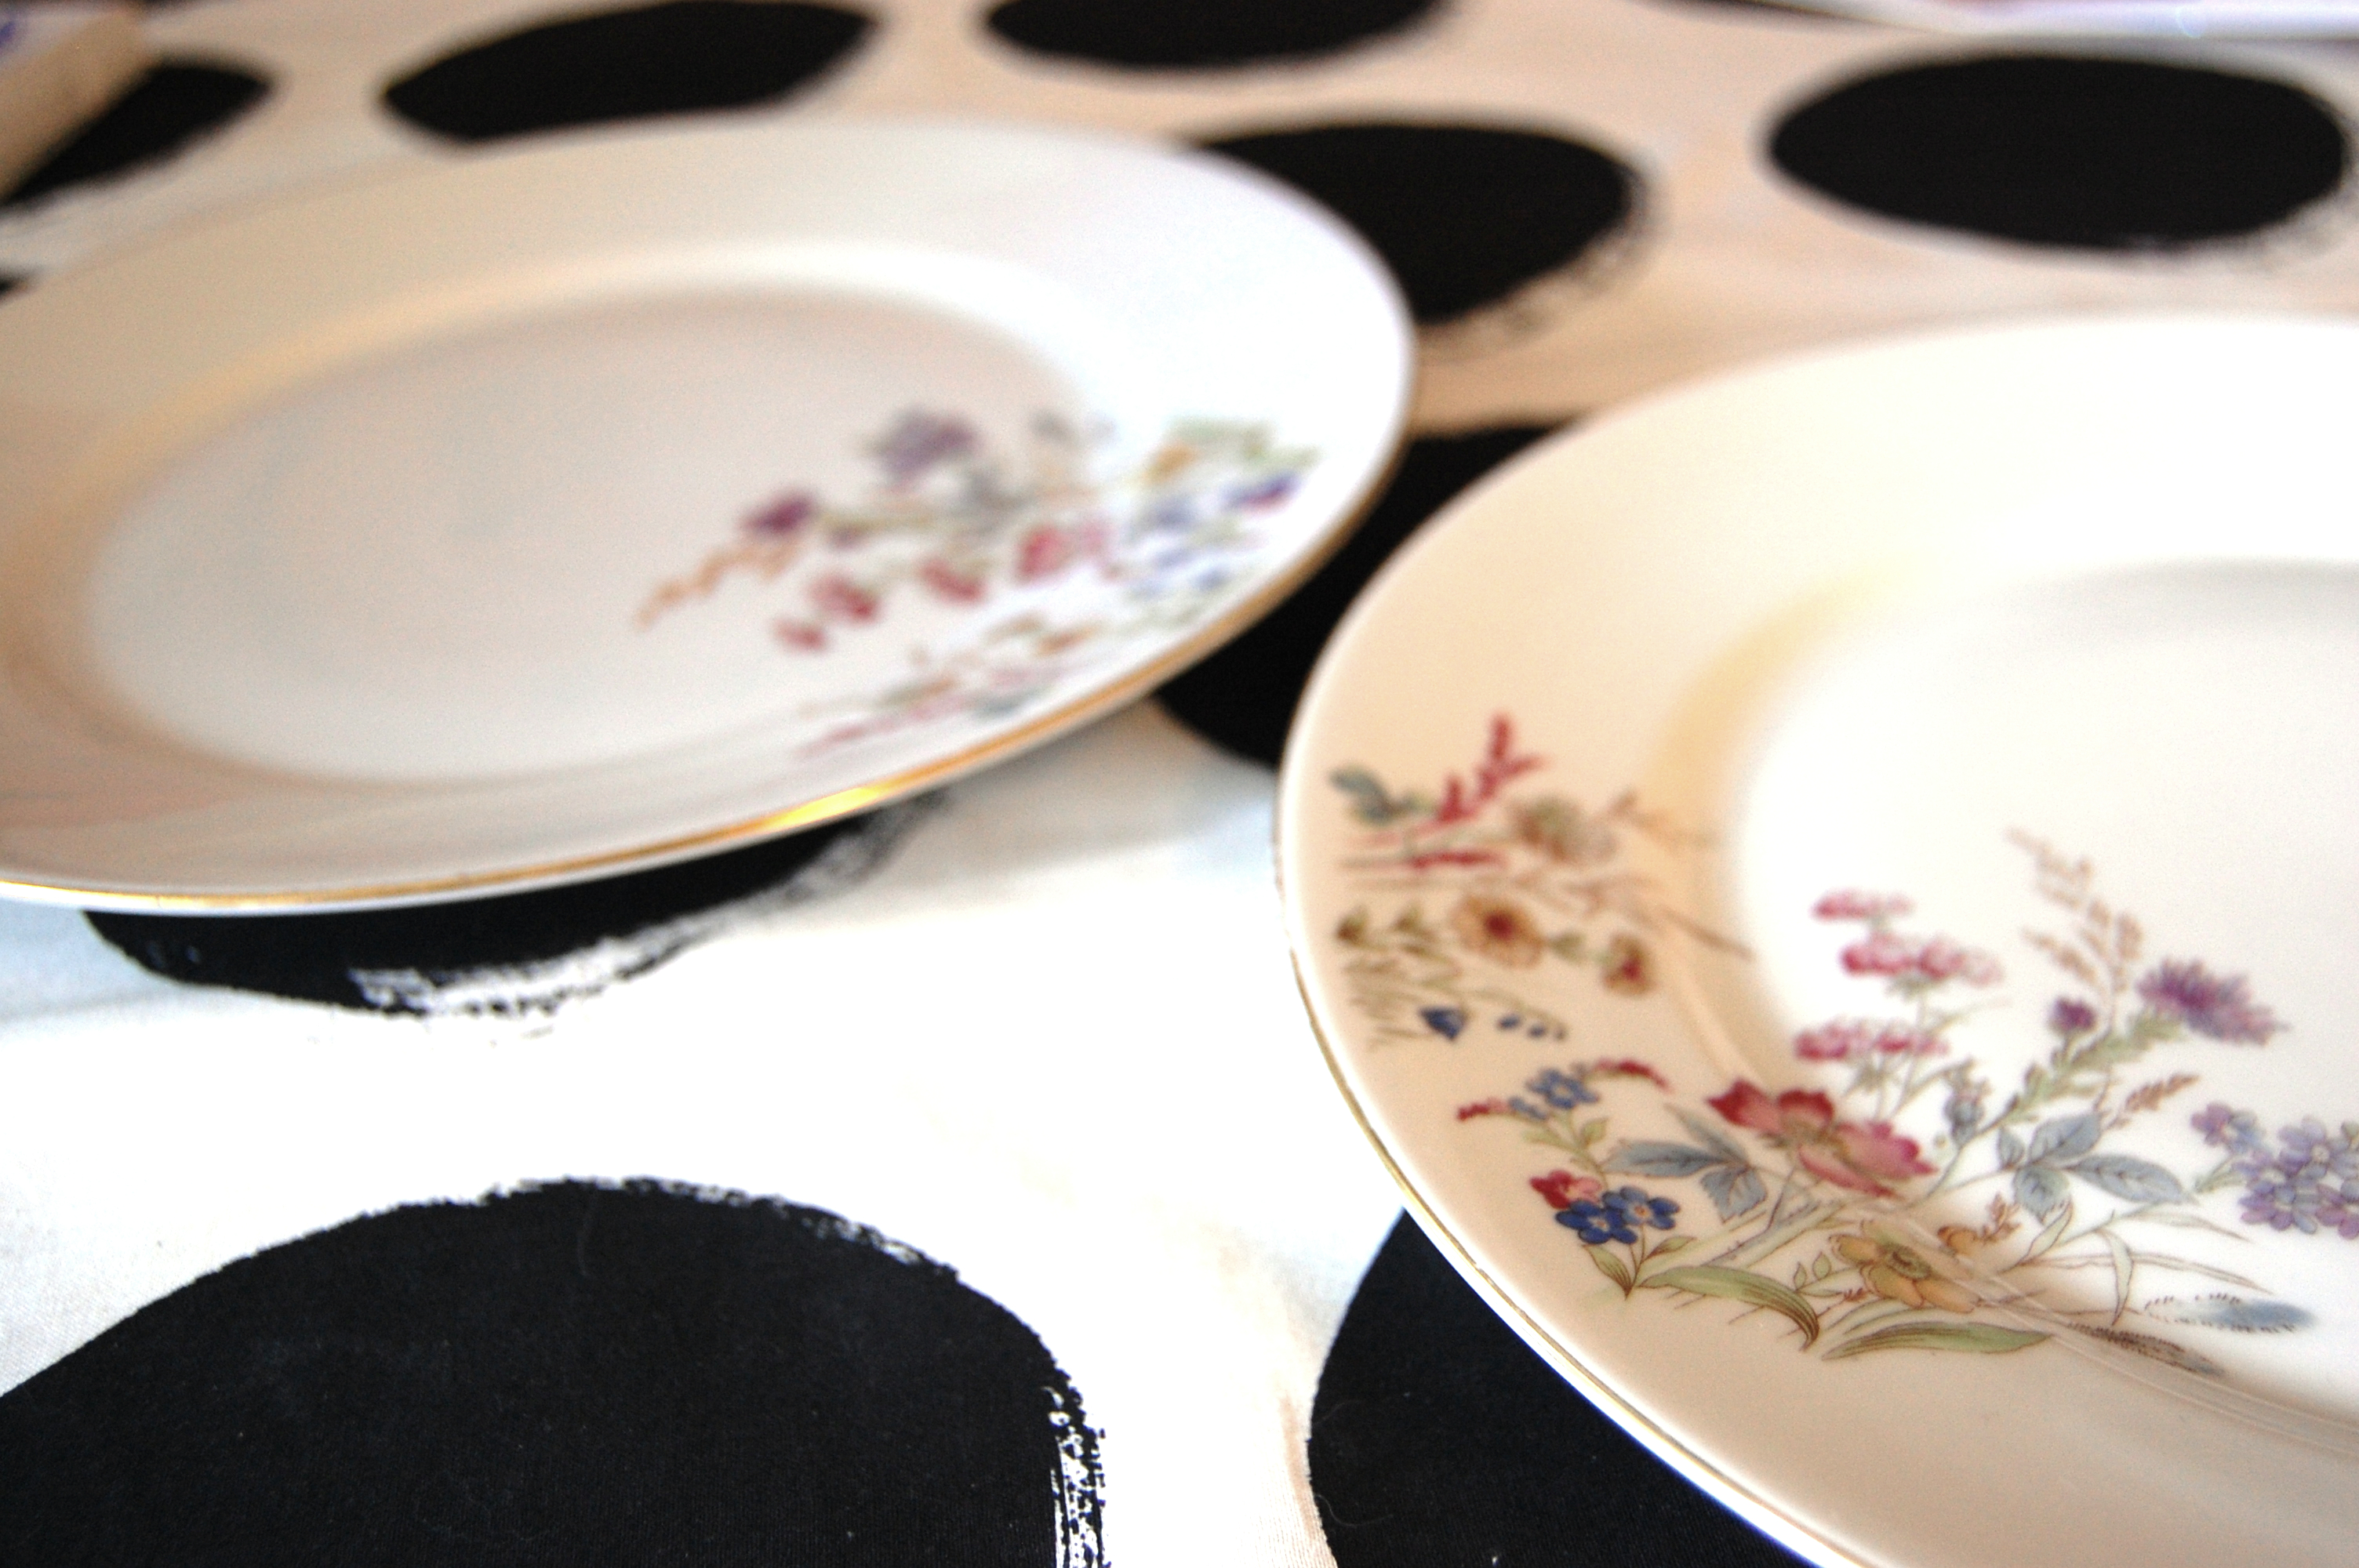
First of all, find you plates. Any flower plate will do, choose the ones you find the prettiest. In any thrift store you will find loads, I promise! They do not have to match, as mine do though.
Use the rubbing alcohol to clean your plate, finger prints and oil from you hands could disturb the sharpie pen from staying put. Just wipe it off a bit. Then take you pen and try it on a piece of paper first. This is important if you using the gold kind, they tend to ‘flow’ a bit more then the usual black sharpie pen. I found it much easier to paint the actual plate after making some sketches.
Start making you design! I had three bees on one and two on the other, but if you want you could try to make them symmetrical. When your pleased with the design and the bees are enjoying the florals it’s time to bake the plates. Set the oven to 175 degrees celsius (350 degrees Fahrenheit) and bake them for half an hour. Let them cool. And your done! Easy, right?

Bee safe! (Yeah pun intended) xo Pella