9

diy asos knock off embroidered flower dress


asosdress15

In my first entry I wrote about one of my biggest passions, dresses! I can’t get enough of them! I wouldn’t say I have too many, because you can’t really have too many dresses, but I have a few. Most of my dresses are vintage finds or thrifted. I’m not the kind of girl who go for design pieces, I couldn’t afford it and I believe you can dress great without spending too much money! This is where this tutorial get’s in the picture. If you haven’t read my first entry about the dress off my dreams from asos, do it here.

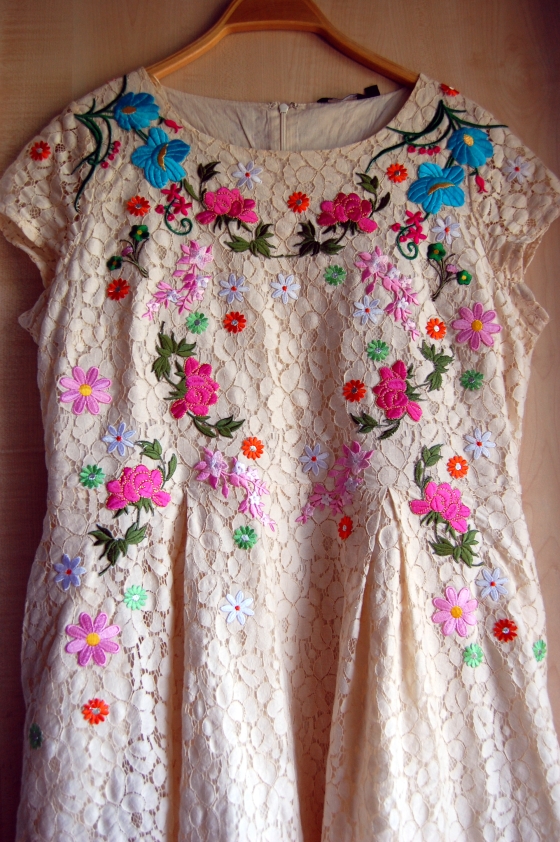
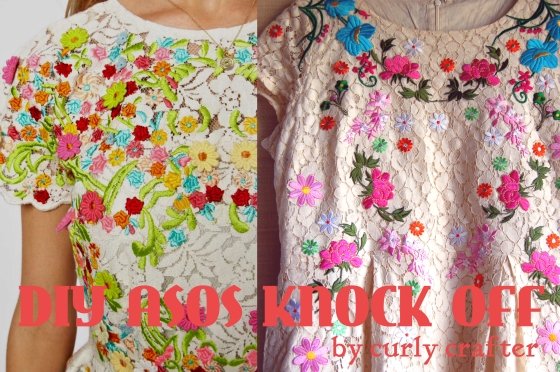
So I was in an impossible position, the dress I had my eyes on was way to pricey and when it came on sale it still was too much for my student budget to bare. And then it got sold out. What do you do? You do it yourself! It was a little tricky but I would like to think that my version, all though MUCH cheaper, is just as good as the one from asos.

Since my dress was too white for my taste I used tea to dye it a more antique white shade. Here is a tutorial for that. But let’s skip to how I turned my plain dress into a wonder of flower power! It was more work than I expected, but I had some fantastic assistance from my mother who is way more handy with a needle and thread then I’ll ever be!

This is what you’ll need for this project

  • a simple dress to your liking
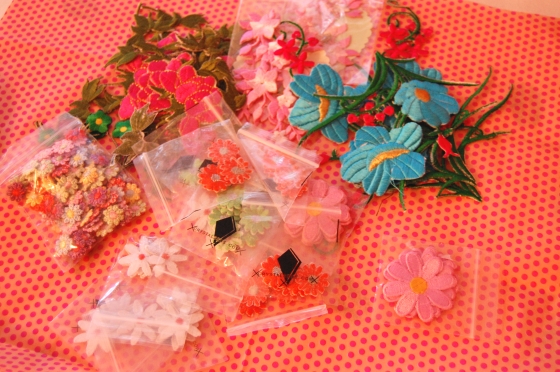
  • lots of iron on flowers
  • lots of sew on flowers
  • needles and thread
  • an iron

asosdress

The flowers I bought I bought on ebay, herehere and here. If I were to buy all the flowers in a craft or sewing store I could just as well’ve bought the original asos dress, they’re that expensive, so i recommend shopping from ebay for this purpose. I think I had about 150 flowers all in all, but some are large and some are tiny, buy as many as you think you’ll need and want. Personally I think more is more (always)!

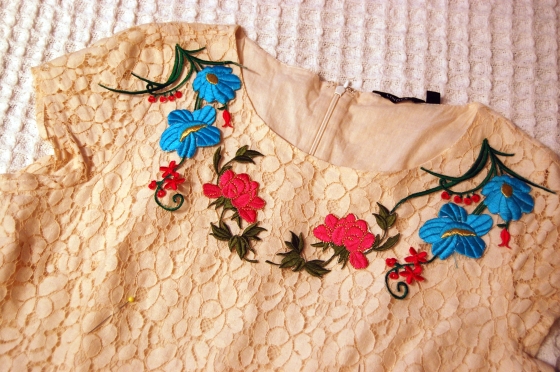
I started by putting the dress on and trying to figure out where the flowers would be most flattering and look the best together. Since I wanted my dress to be symmetrical, like the asos dress, I put needles in the fabric (while wearing it) to know where I should put the flowers later on. I lay the dress out and started needling the flowers on.

asosdress1

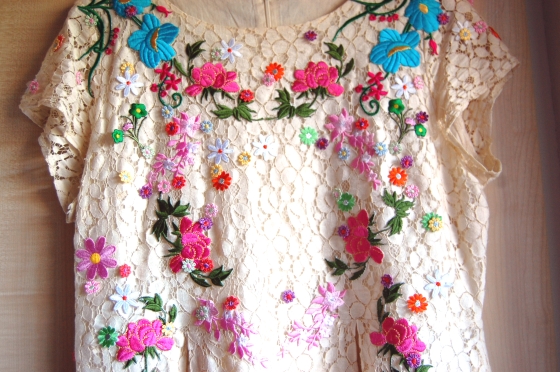
I wanted the lining to be eye-catching so I chose to place the larger flowers there. I saved matching ones for the back.

asosdress4

Only my larger flowers were the iron on kind so they were the only ones I fit into the symmetrical pattern. The small ones had to wait! When I was satisfied with flowers placements I started ironing them on. Remember to take the needle away before placing the iron on the flowers and be very careful with the heat if you dress i lace, like mine.

asosdress5

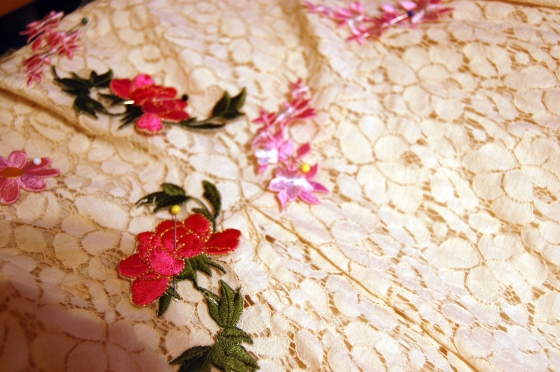
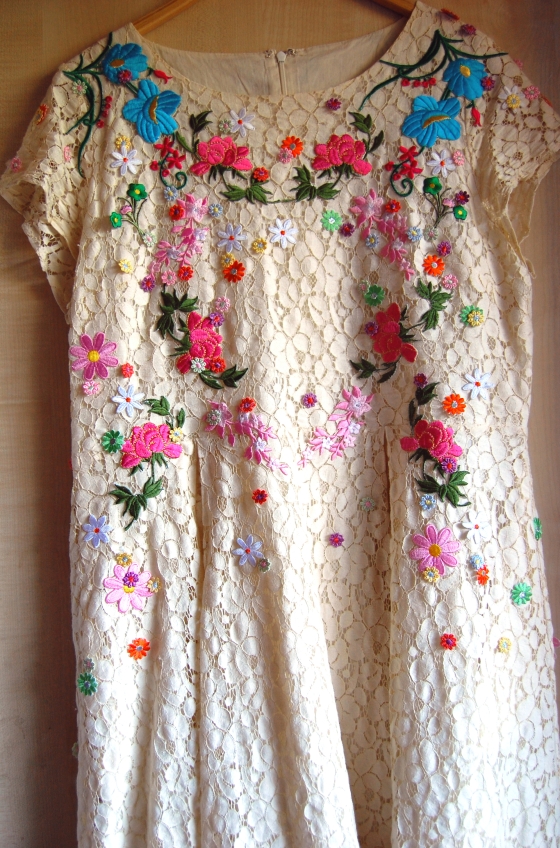
Ones the flowers are stuck, it can take a while for the glue to set so just keep ironing, it’s time for the tiny flowers. If it was one thing I loved with the asos dress it was that they had sewn flowers on top of each other, so I sewed many of my smaller ones on top of the larger flowers. It takes a good while to sew on all the smaller ones, but don’t give up because the more flowers the more amazing your dress will look.

asosdress6

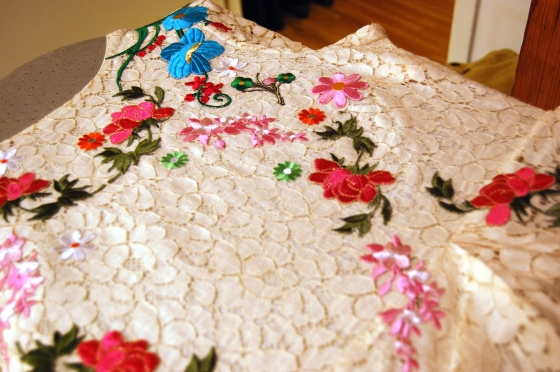
Before I sewed the smallest flowers on it looked like this!

asosdress22

And this is the finished product, of some weird reason I haven’t got any pictures with me actually wearing it. Next time I throw this beauty on I promise to snap I few pics!

asosdress24

asosdress25


asosdress23

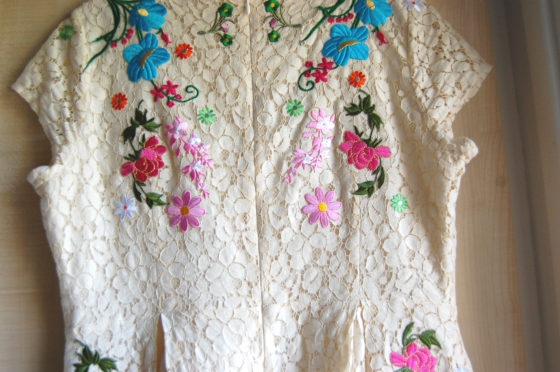
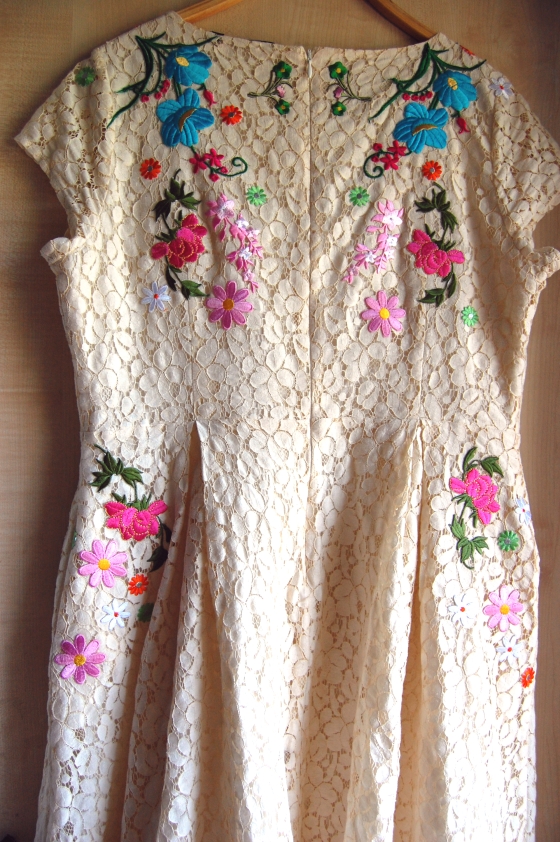
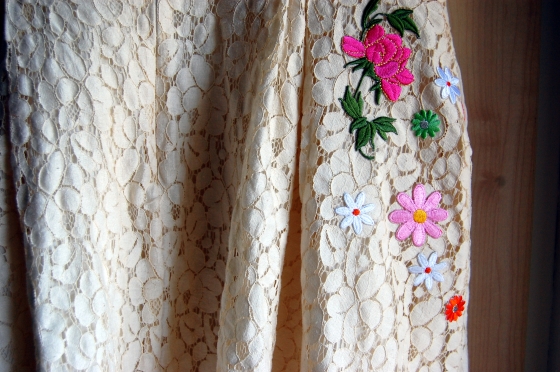
This is how the back turned out, a little bit more bare like I wanted it. My favorite part, except the neckline, is the flowers on the bottom of the dress, the ones that went on the actual skirt. Such a special little detail.

asosdress11

When I wore this I got so many compliments from my friends and I bet you would to if you made your own version!

2

how to dye that dear dress

I am really excited about dying clothing. I am not at all into really really white things, mostly because I always get them dirty or stained. Now if the color is a light cream that never shows as easily!

To find cream-colored clothes can be tricky! So here is a tutorial for dying them in a really cheap and easy way at home. I’m talking about tea dying! This makes me want to dye everything i own! Before you go all crazy and start dying everything (like me) it’s important to know that tea dying may not get all even. The shade may vary throughout the piece of clothing you’ve chosen. It also becomes lighter after every wash, this doesn’t mean it will all go away though.

I am dying the dress I mentioned in my previous post. As you can see in the pic it is very white and in all pretty simple. Image

What you’ll need is this,

a piece of white clothing, preferable made from cotton (it’s also important that you washed it previously since a new piece of clothing could contain toxins and such)

a bunch of tea bags 

a big pot

and a dryer

Image

I am using 10 bags, equally many of earl grey and rooibos. I have this feeling that if half of the tea bags are black tea and half are red maybe the result will be more ‘burnt rose’ than just ‘cream’.

ImageI boiled water in my favorite pot and added the tea, then I took is of the stove and let the tea steep for about fifteen minutes, so it’s not to hot for your fabric. I cut the strings of the bags, their tags are often made of colored paper which could end up interfering with the result.

Image

Image

Before I soaked the dress in it I chose to remove the tea bags. If they lay in water to long you risk them breaking and the clothing you’re coloring becoming all messy. When I soaked the dress it immediately turned to a gorgeous shade of light tea, which sadly was pretty hard to catch on camera. It also smelled really nice in the whole kitchen. This is such a nice way of dying, no weird artificial smells and no worrying about staining yourself or your home!

Image

After soaking the piece of clothing I recommend putting on the lid and then setting a timer! I set mine on a hour. I rather color my dress too little than to harsh because it’s easier to re-dye it than to make this undone. But if you’re looking for a deeper color or a more tan like shade you could just soak it over night.

When you’re through with waiting you just rinse the tea out in the sink. Here the dress get’s a lighter color, which is exactly what’s suppose to happen. If it get’s to light to your liking, just soak it again for a longer time. When the water your rinsing it with isn’t so dark anymore your ready to put the dress in the dryer and tumble it dry. This is important since the heat is what makes the color permanent!

Image

Image

I am in love with the result, it’s just how I wanted it. Not at all too dark and the color came out surprisingly even! I can’t say I am disappointed with anything and can’t recommend this enough! It was very easy and not at all messy. Also, now my dress smells really lovely, like the best cup of tea ever. If you don’t enjoy the smell I recommend you put it in the washer after drying it so that the color still stays put!

Image

Hope this was helpful! Now go craft!

Image
7

dearest dresses

This is my first entry and it’s about two of my favorite things, first of all, it’s about a dress! I love dresses, they are the perfect piece of clothing in my opinion. In my collection i estimate having at least two hundred little creations, all loved and most of them thrifted or altered to my liking. The second thing that this entry is about how easy crafting can be. It’s not always time-consuming and you don’t always need lots of equipment. I’ll show you!

I’ve had my eye on this one dress on Asos, it was way to expensive and in my opinion also a bit to short. When it came on sale it still was to pricy for me but i couldn’t get it off my mind! I usually go for cheaper clothes, most of the time I shop in thrift shops but oh how I wish I had bought this. I love the combination of the white simple lace being all dolled up from the  3D effect flowers.

image1xxl

image3xxl

Since I can’t obtain this dress I will make an attempt at it myself. I am terrible at the sewing and usually break something when I use the machine so I found myself a white cheap lace dress in a retail store. It’s actually still available and on sale. It fits really nicely and is a bit longer then the one in the picture.

dress

The only problem is that the dress is really white. I prefer colors on the more creamy side of the scale. Therefor my first tutorial will be on how to dye the dress. I’m not very into chemicals and buying expensive dyes in the craft shops so I will be showing the simple, cheap and organic version. The second step will be sewing on lots and lots of flowers.

Florals forever. Pella