Image
3

DIY piñata, party idea

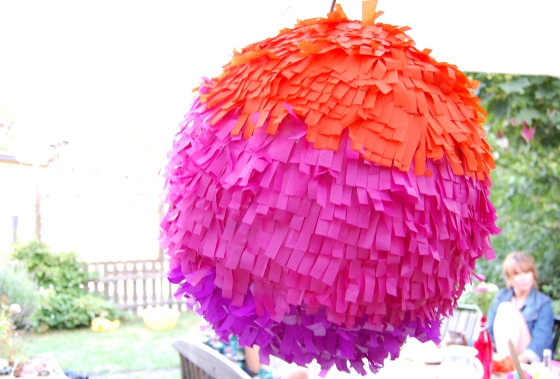
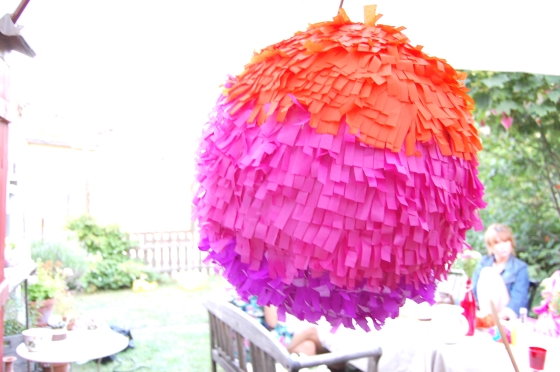
Hi guys! remember the post about my mini pinatas? There I mentioned that I along with the small pinatas also made a really large pinata for my birthday and yes pinatas are for adults as well if you ask me. This is how it turned out and I can say that I was very pleased with the outcome of it all!

pinata16

As I said about the mini pinatas, it’s important to start this craft at least one week before the actual pinata is needed. It takes rather long for the papier maché glue to dry.

This is what you’ll need:

  • one large balloon (mine was gigantic)
  • newspapers
  • papier maché  glue
  • a big bowl
  • glue sticks (for the decorating of the pinata)
  • silk paper
  • string
  • candy (most important part of course)

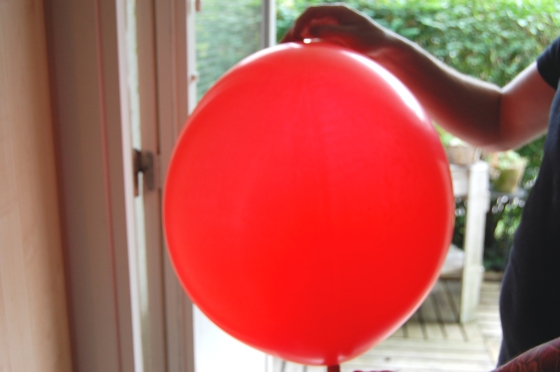
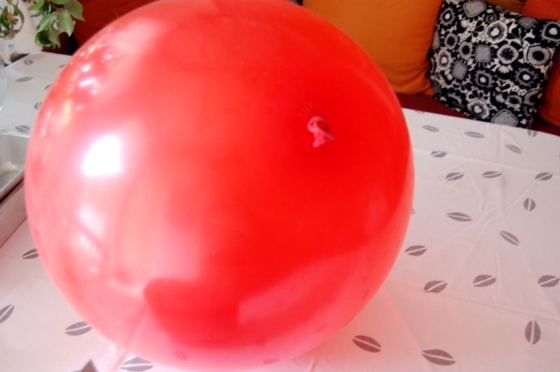
For this craft I had some boyfriend assistant, mostly because the balloon was so big it’s hard to handle it alone but also because it’s fun to do something crafty together. He help me blow the balloon (yes, I find them scary and always think they will blow up in my face…) to gigantic size!

pinata

pinata2

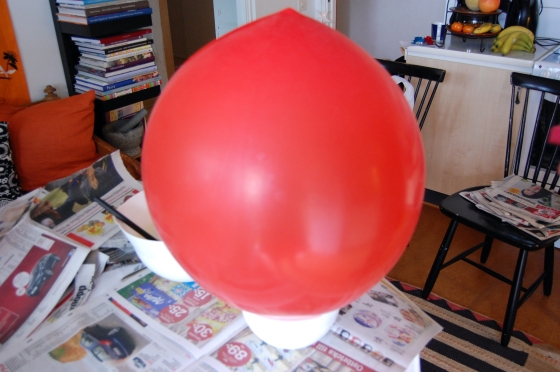
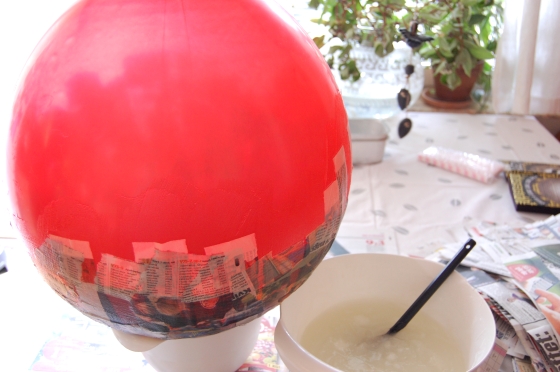
Although a bit scary, one can’t deny that balloons are very pretty! When the balloon was ready we placed it in a bowl, so it would stay still (mot of the time) when we put the paper and glue on. Choose a bowl you’re not all to fond of, it could get ruined or miss colored from all the glue. Also prepare with paper under the balloon, you don’t want to stain your working space. The glue washes away really easy with water though, but one can’t be too sure.

pinata5

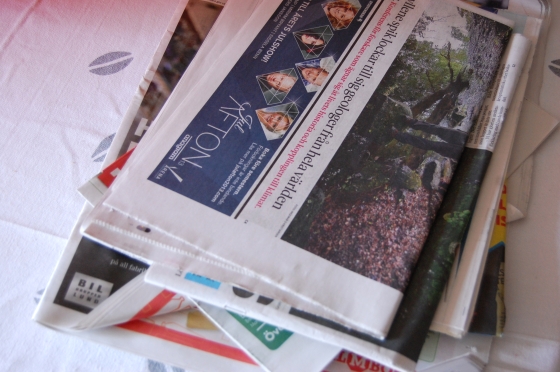
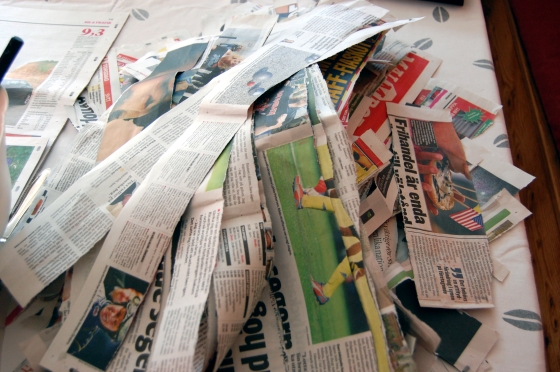
I used store-bought papier maché glue, I recommend it very much, it get’s much sturdier than the one you can make yourself. But if you want to try that I mentioned a recipe in this post . Mix you glue together and let it set for a while (the kind I used said ten minuets), while you wait you shred the papers.

pinata4

pinata6

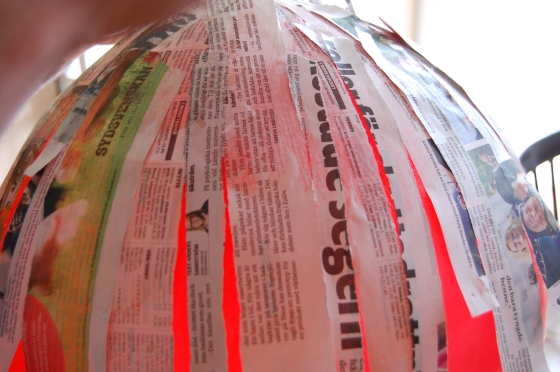
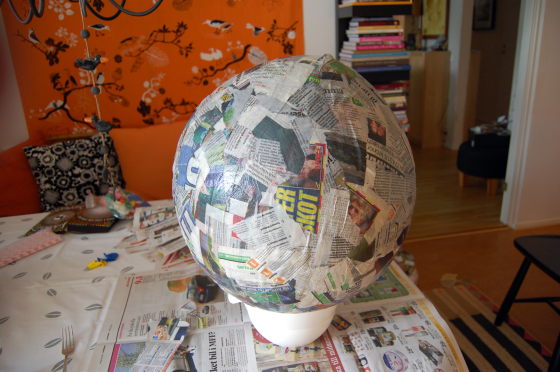
Now it’s time to start covering up the balloon! We used sponges to put on the glue and then lay some of the paper on and smooth it out.

pinata7

pinata8

You do one layer at the time, so switch the balloon over when one half is covered! I did two layers at one time and them put it to dry for a day or two just to repeat it. Make sure you leave the top of the balloon (the knot) bare, this is where you get the balloon out later when the pinata is dry. All in all I had eight layers on mine. It’s important that you turn it over while it’s drying, or else the part in the bowl won’t dry but stay moist instead. So turn it around once a day if possible.

Make sure you keep the glue, cover it with some plastic, you’ll be needing it after filling the pinata.

pinata10

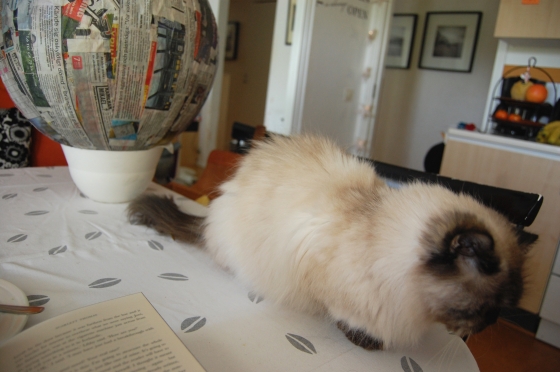
While it was drying my cat guarded it.

pinata9

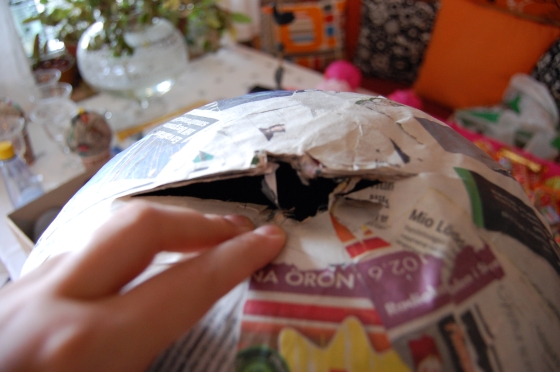
Skipping forward to when the pinata is dry you should fill it up. First though you have to remove the balloon, cut it at the knot and then pull it out. Cut the existing hole bigger, so the candy will fit!

pinata19

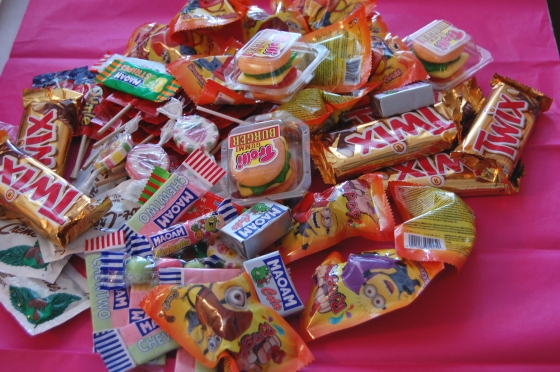
What I initially wanted to fill mine with was miniature booze bottles, but I hadn’t any luck in finding any and of course my fallback was candy. Since all of my guests grew up in the nineties I choose to put in ring pops, I used to love them when I was little (eatable jewelry is the best).

pinata18

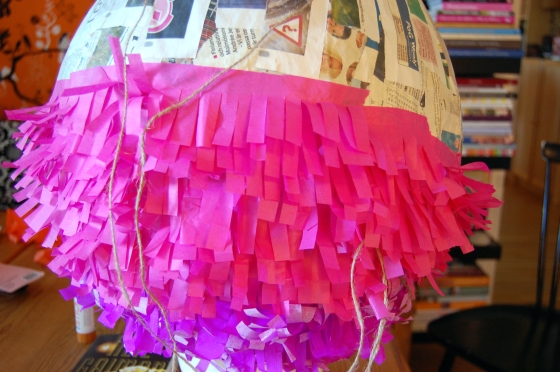
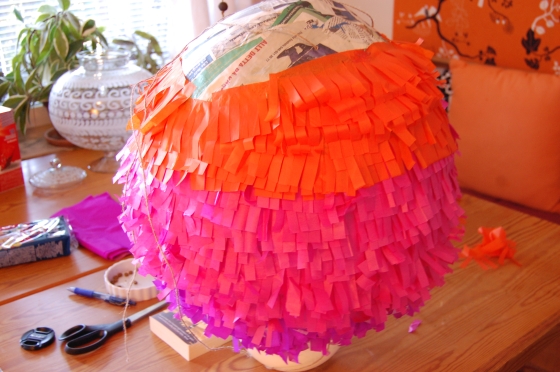
Put all the goodies in there and use needle and string to make to holes and tie the string through to hang the pinata in later. Then take the papier maché glue and some more paper and cover up the hole. The pinata will probably need one more day to dry before being decorated. When it came to the decor I choose three colors of silk paper, orange, pink and hot pink to create a cute ombre effect.

pinata14

For glue I had glue sticks, I needed three so stock up! Glue sticks are better than liquid paper glue, it’s easier to work with in this case. Start glueing them on at the bottom so the fringe will be pointing down.

pinata12

pinata13

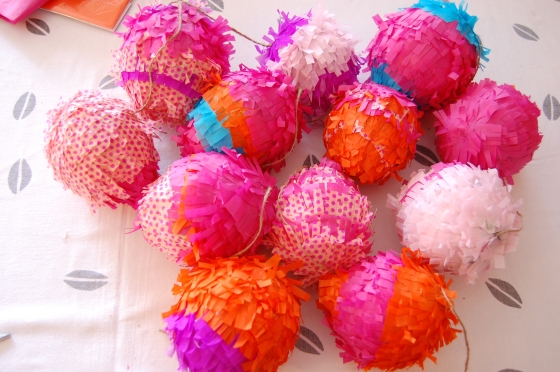
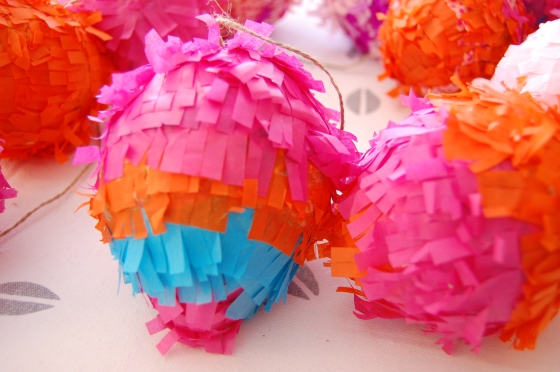
I love how it really looks like a gigantic version of the mini pinatas I made as placement cards for the party.

pinata15

Have a good time smashing up your pinata beauty!

9

DIY mini piñatas

Hi! Since my birthday’s coming up next week, and I’m throwing my birthday party this very weekend, I’ve been swamped with DIY projects! This project took a week to complete but look at the result!

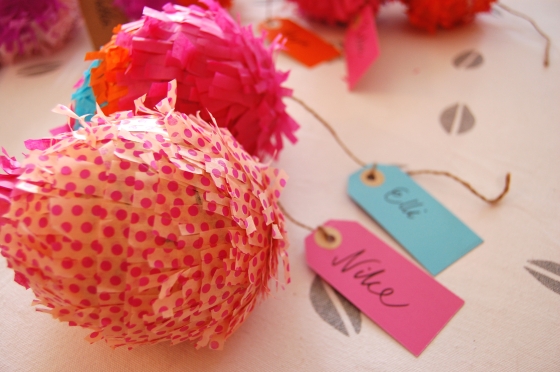
mini7 These little mini pinatas will be the placing arrangement for the party so except from being all cute and colorful they actually have a purpose! And inside (for the guest that dares breaking theirs, which really is the point!) is a small candy favor each! Fun! Can also add that this could easily be done for kinds, but I don’t mind making these for my adult friends, who doesn’t like colorful things and candy, right?

This is how you make them! It’s not tricky at all, it just takes time to let the papier maché to dry, I therefore recommend you starting a week, or at least five days, before they are going to be needed.

You’ll need 

  • balloons
  • newspapers papers, shredded
  • papier maché glue
  • drinking cups
  • glue (for the decoration)
  • silk papers (also for decoration)
  • string
  • cardboard tags
  • candy!

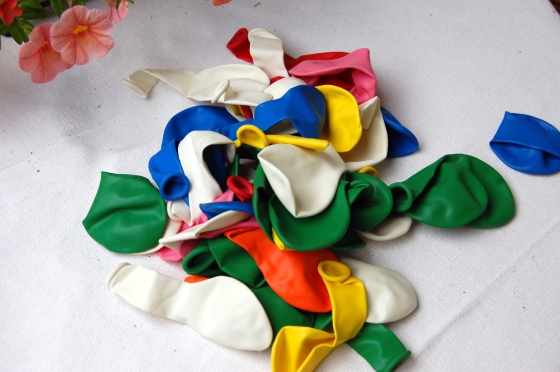
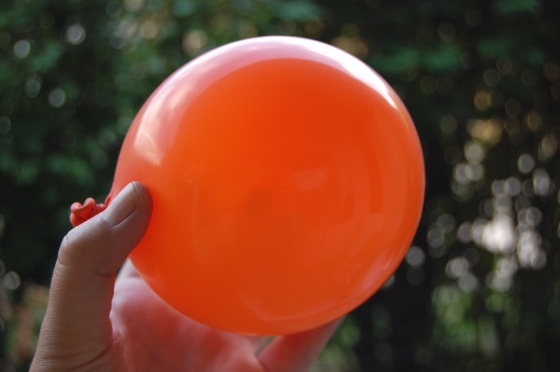
I choose to use normal size balloons but decided to keep them on the smaller side so they later on can fit on a plate!

minipinata

mini2

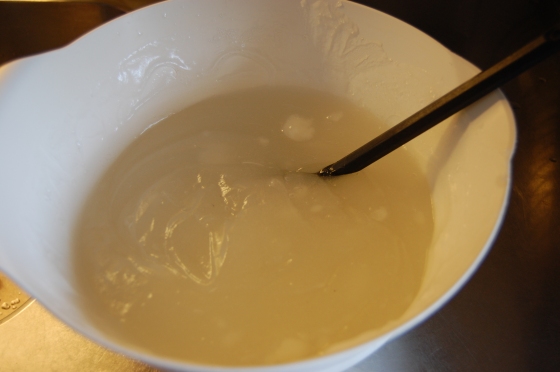
I made twelve balloons, one for each guest and one for myself (it’s my party so I totally need one too). When i was finished with the balloons I mixed my glue, I choose store-bought since it won’t dry as fast in the bowl and can be used days later. I did this because I’m also making a LARGE pinata for my party, tutorial will be coming later! But if you only need the glue for this one project you could mix it yourself with 2 cups of flour and 2 cups of water and 1 tbsp salt, boil it on low heat in a thick pot.

DSC_0116

DSC_0189

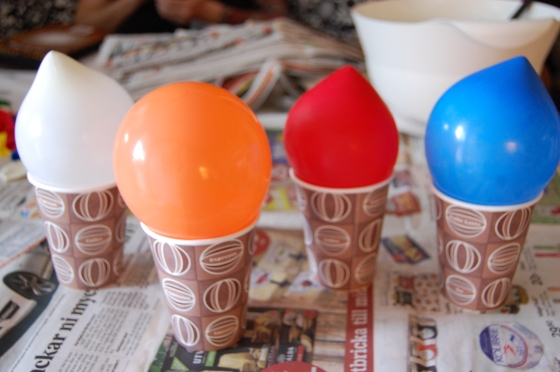
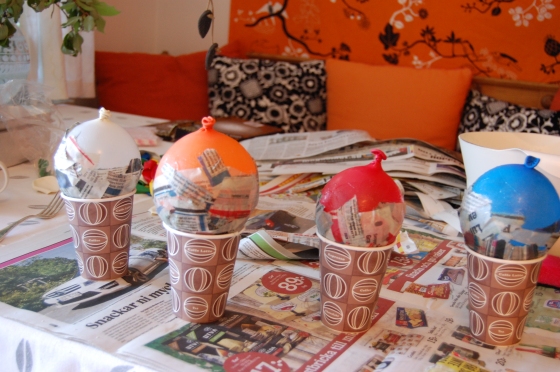
I place the balloons in these cups so they will be easier to work with. Then I start layering on the shredded newspapers and the glue. I did not let the balloons dry between each layer, but you could for shorter drying time! I smacked four layers on there right away and let them dry for a couple of days instead, I’m not known for my patience really. Also don’t forget to leave the little knot on the balloon visible and uncovered, you’ll be taking out the balloon in that end later.

DSC_0191

When you put the papier maché on the balloons will start to feel very unsteady but that’s what’s suppose to happen. Just keep them in the cups and turn them around once a day so every part of the balloon can air dry.

DSC_0224

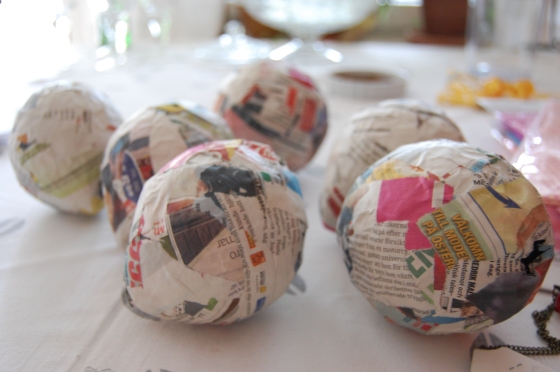
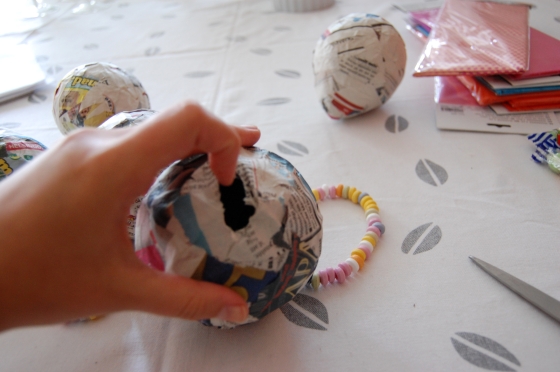
Let’s fast forward to when they are dry! They feel very solid and you can easily cut the balloon out now, be careful so you don’t get it stuck inside, although if that happens it’s not a disaster. Once the balloon is out it’s time for putting in the candy, in mine I had to cut a bigger hole, but it’s glued together again afterwards so it doesn’t matter.

mini6

Now it’s time to fill them! I choose to just put in a few pieces, mostly because I’m also having the large pinata but also because it’s right before dinner and I want my guests to be able to enjoy the food. When you have filled them with your candy of choice you take the glue out again (I stored mine in the kitchen with just some plastic over, it stays moist for about a week). Here I put a little piece of string in before glueing them together again.This is for me to hang the cardboard tag in for later, it’s how I turn these little things into placing cards. Let them dry in the cups again, just like before and when dry it’s time to decorate them.

mini12

mini13

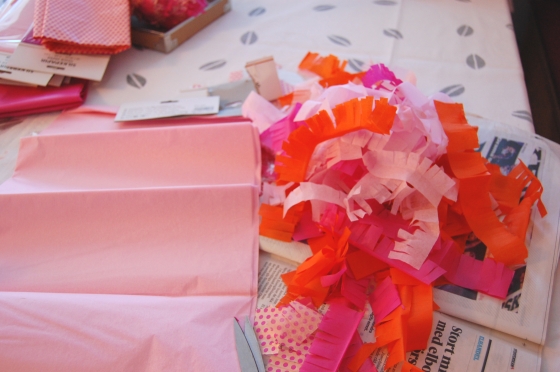
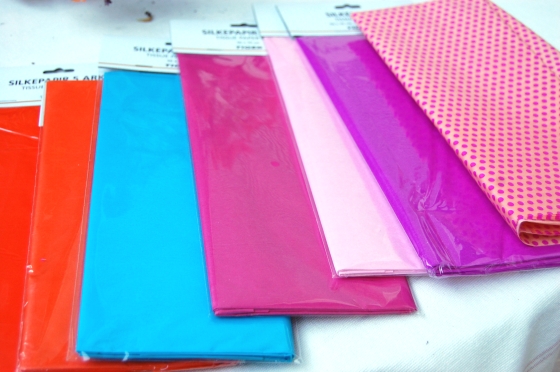
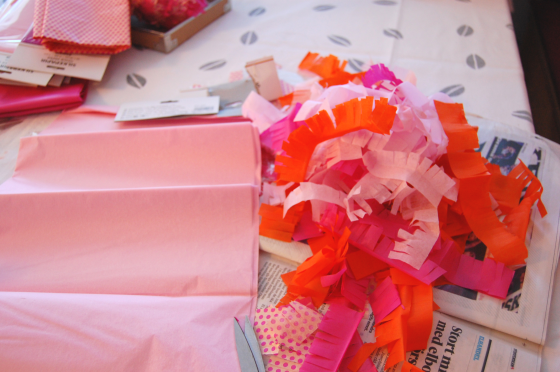
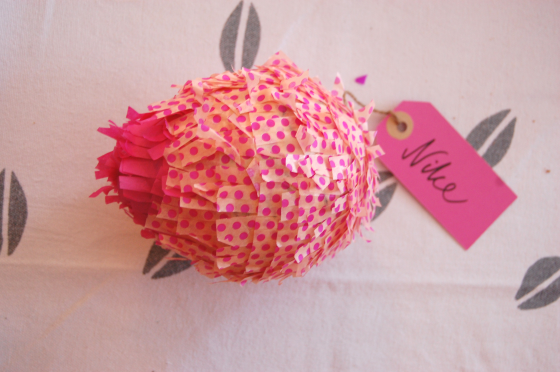
I am not a fan of crepe paper so I choose silk paper instead. I got hold of some really nice colors, orange is my favorite and the one with the small dots of course. I suggest you fold the papers so you easily can cut out small strings with fringe. This is a bit time-consuming if you don’t fold the papers before cutting! I made a really big pile with all the colors I was going to use (all of them). And then i glued them on starting at the bottom, the part without the string sticking out. It doesn’t really matter what kind of glue you use, pick what you have home already. I had simple glue sticks which works really well with the thin silk paper.

mini8

mini10

mini11

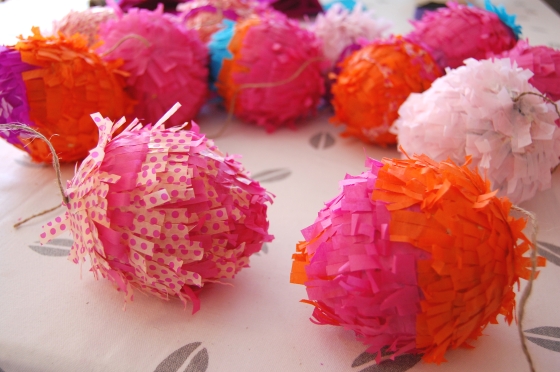
This is how they turned out! I am rally pleased, and I sure they will be a hit at the party. It’s also a rather nice craft, it’s so rewarding to see the outcome. The mini pinatas are adorable and could be used in so many ways. I am already thinking about this as a gift wrap idea. And you could make them like eggs for easter. The variations are endless. I am sure you’ll have a blast making them!

mini9